
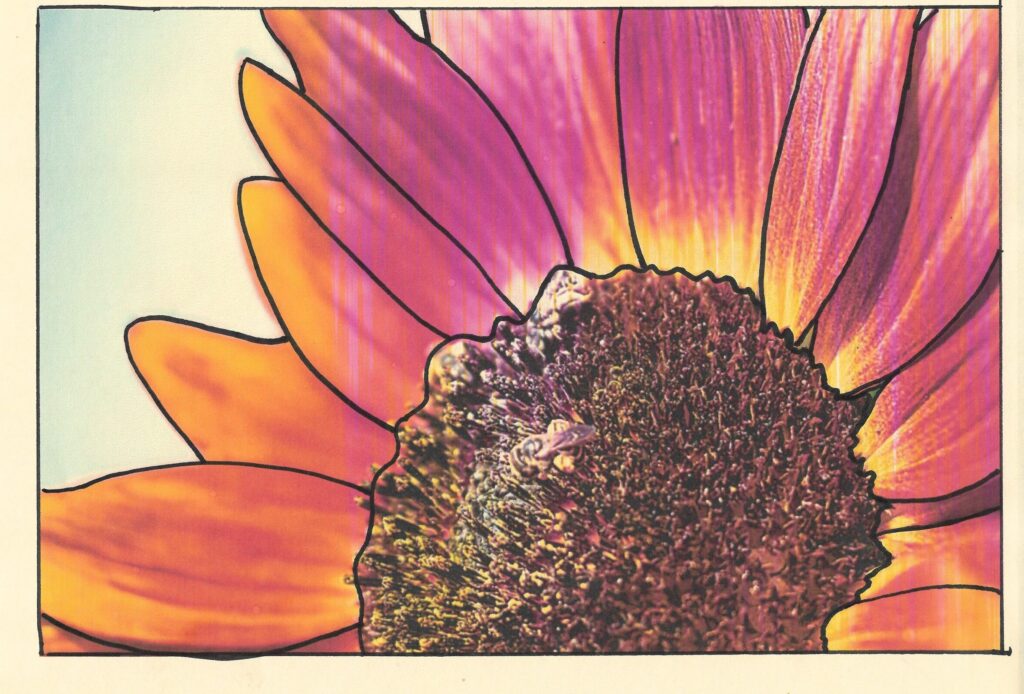
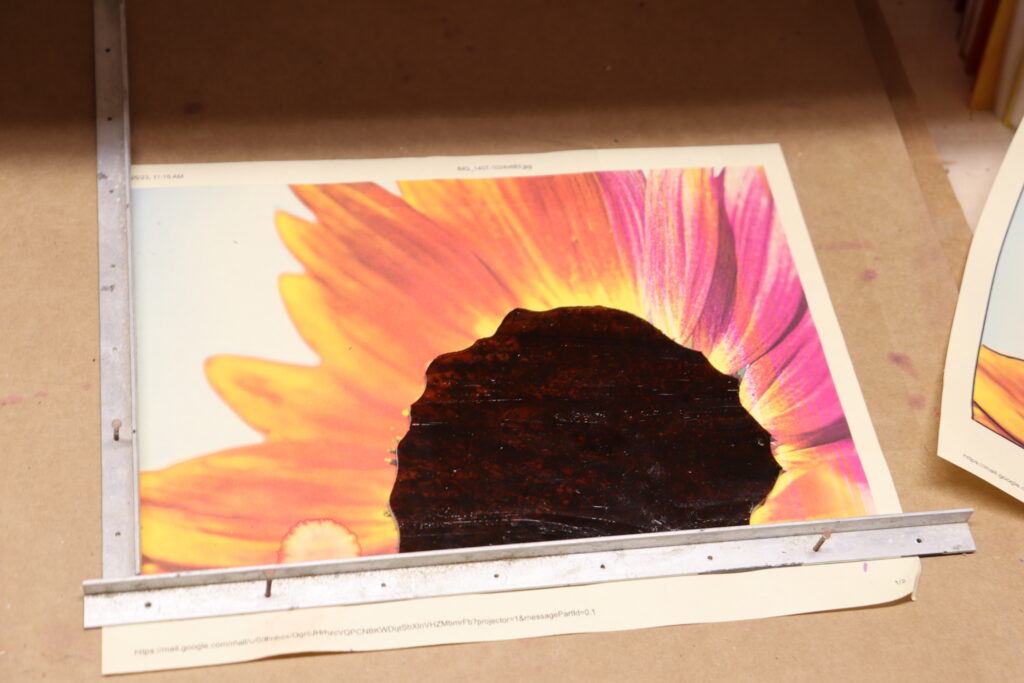


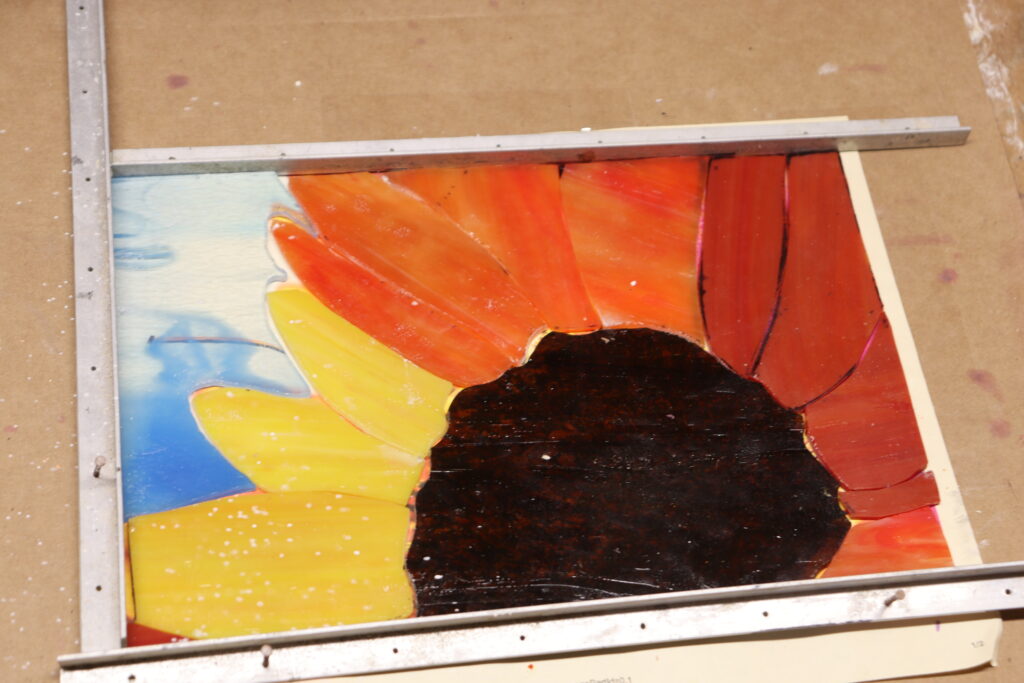


My inspiration for this piece was this beautiful sunflower in my backyard! I love the bees in the photograph, but I’m going to leave it off in this stained-glass piece. The first thing that I did was print the picture and trace the lines that I plan to use to create a pattern. You can see the lines drawn on my pattern.
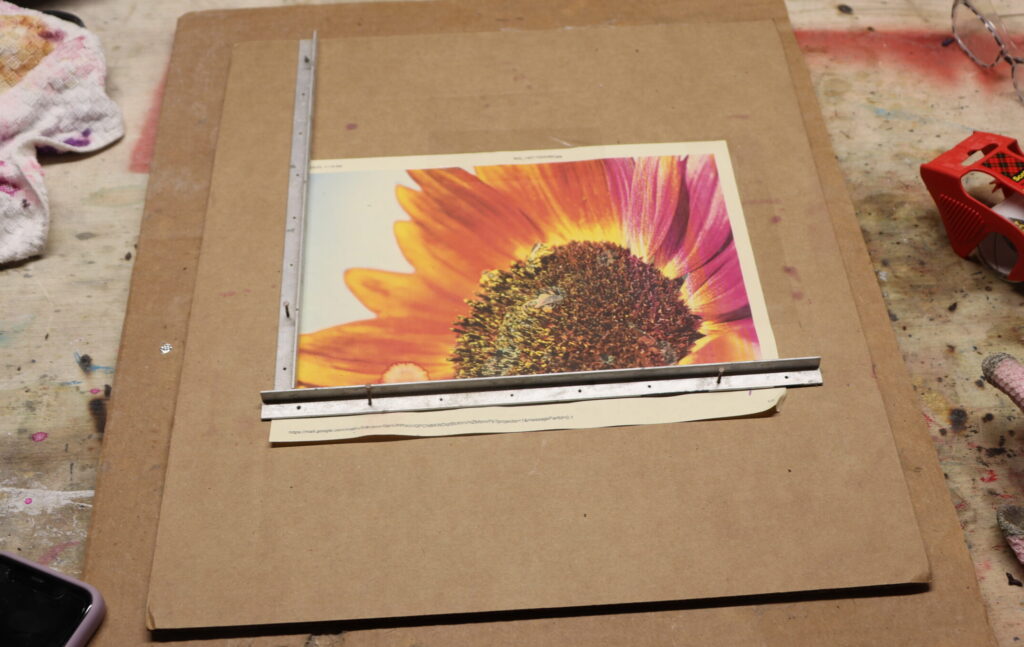
You will need to print your picture a second time. This is where you will place the cut glass pieces before taping and soldering them together. I use an old board with cardboard on top, providing a sturdy work area thick enough for a few nails to be placed. I also use metal panels to keep the final pieces from sliding around. I’ve had these panels for years and use them with almost every project.
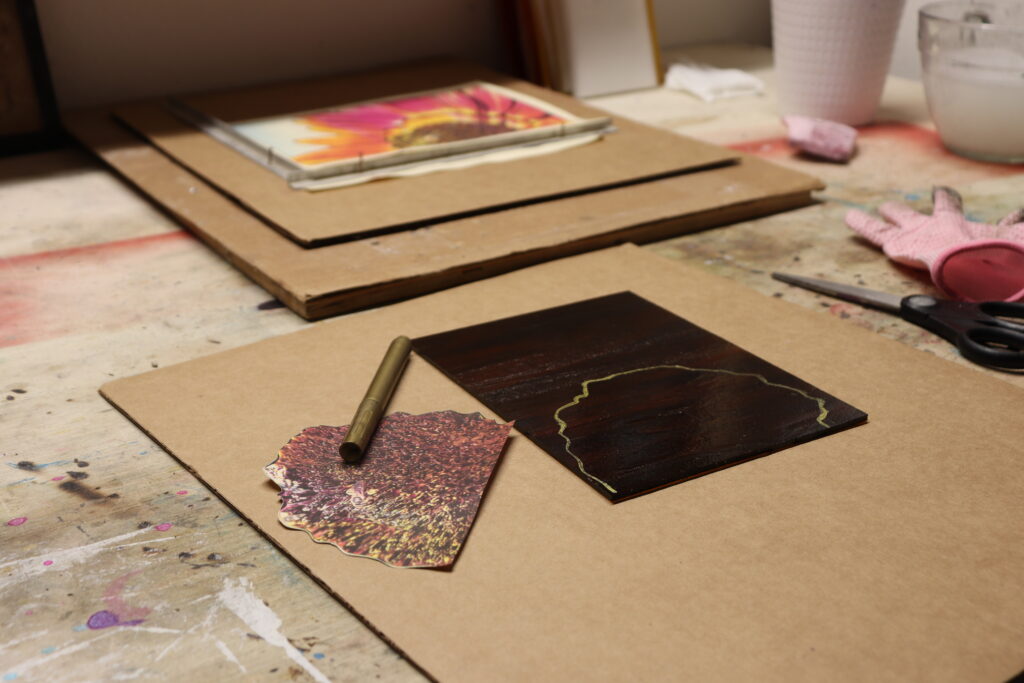
I started with the largest edge piece to make my first cut. This would be the center of the flower. I used the Wissmach Amber and Dark Amber Brown piece for this cut. I lined the straight bottom up with the bottom of the glass to eliminate one cut. Since it is a dark piece of glass, black Sharpie is hard to see. I used a gold acrylic paint pen to trace my pattern onto the glass. I would suggest keeping a few of these in your work area!
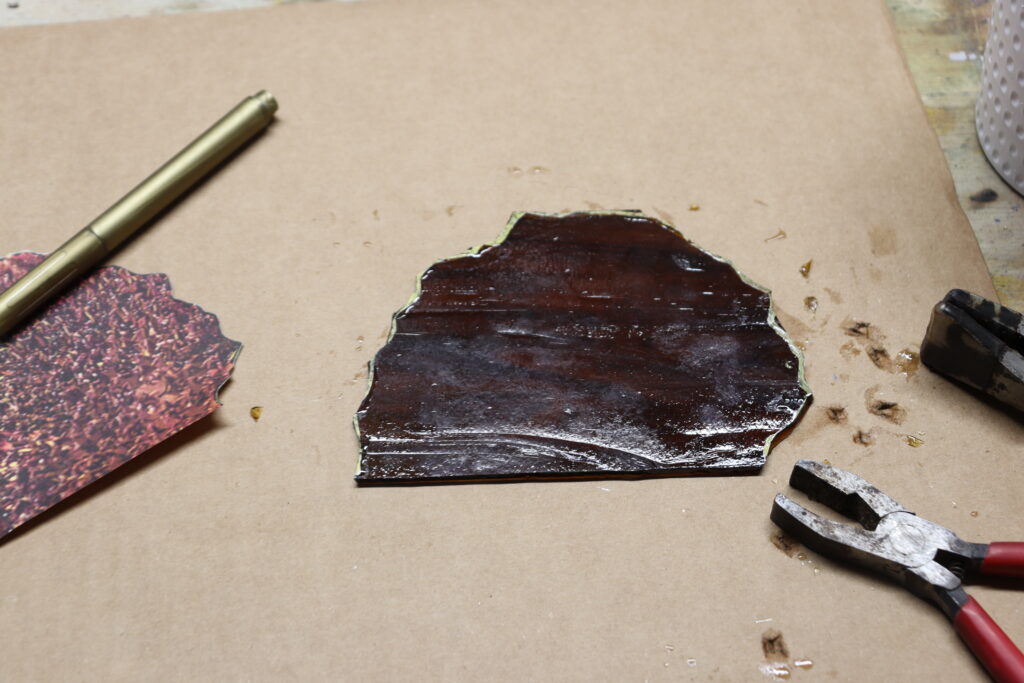
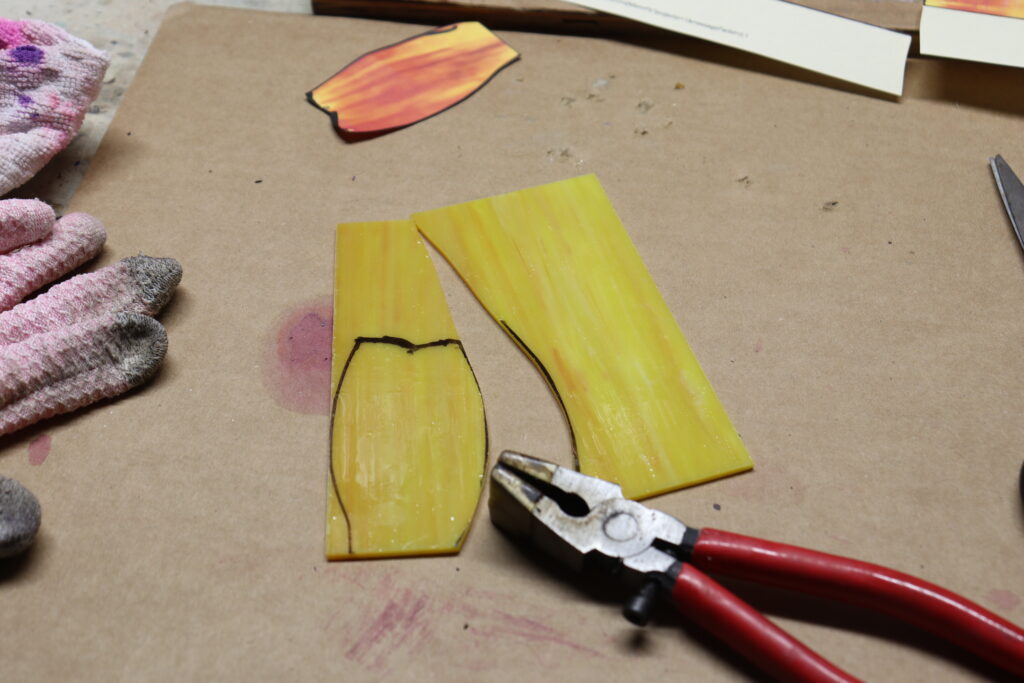
I mostly used my Grozing pliers from Hilitchi to snip off any unwanted pieces. Since the cuts were small and angled, these seemed to be the best tool for the job. This is what I ended up with. I then finished the job with my grinder. I used a large and small bit to get all of the angles. If you don’t have a variety of bits for your grinder, I would suggest buying a three-piece set. I use a 1 Inch, 3/4 Inch, and 1/4 Inch bit for all of my projects. After grinding my glass, this is what I ended up with.
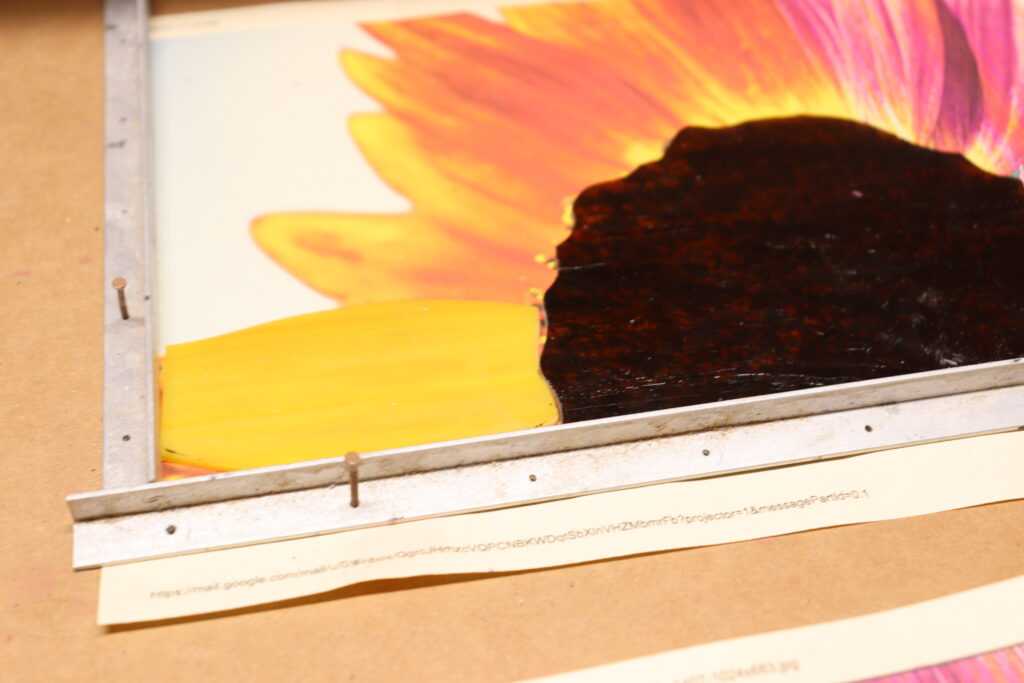
My plan is to start at the bottom left and work my way to the right. I started with the largest petal on the right side. You will have a small section at the bottom to come back to, but that’s okay. I purchased a variety pack of red, orange and yellow glass from Wecrejoni to complete my petals. This will give you plenty of glass for this project and will cover any mistakes you may make. You should have plenty of left over!
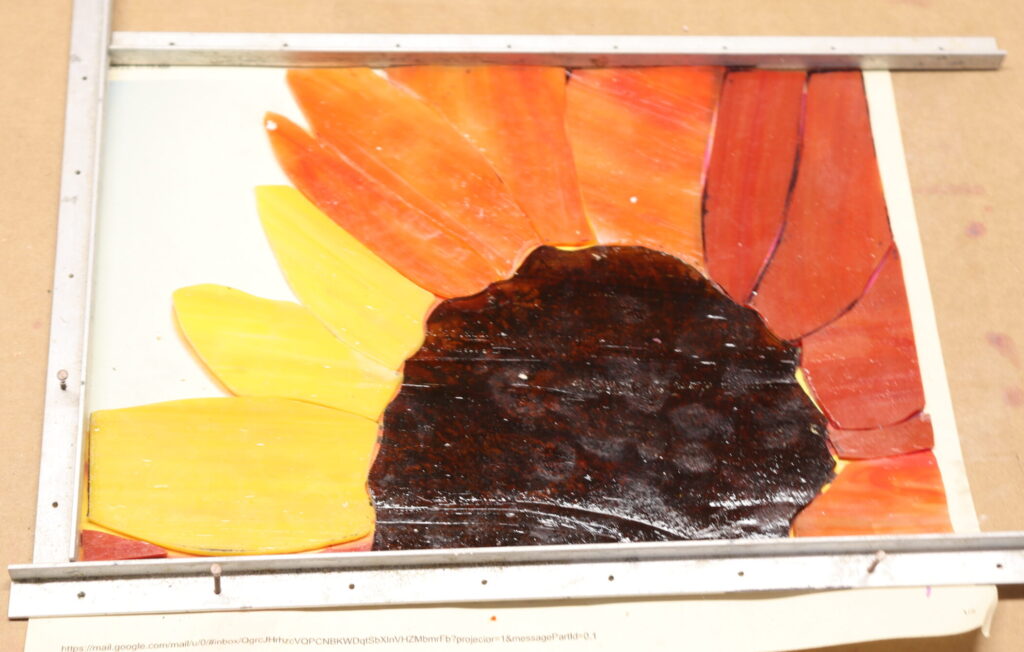
When I can find a nice long line to use, I always use my running pliers to make the cut. I made a second long cut at the top of the petal and then finished the job with my grinder. It wasn’t a perfect cut to start. I lined up the flat edge on the right and used my Sharpie to mark the area that needed to be grinded to make a more solid fit. I worked my way from the bottom left, around the center of the flower until all of my petals were complete.
Some glass is smoother than others. In my case, the yellow glass was fairly smooth on both sides, but my orange was not. When this is the case, simply flip your pattern over and trace onto the back of the glass so that you can make your cuts using the back side.
Often times, those end pieces are going to be a little off. That’s okay! I just recut the pattern for the final end pieces by working with your negative space. I keep scrap paper next to my work area so that I can quickly grab it to create a new pattern. I made a video to show you exactly how this can be done.
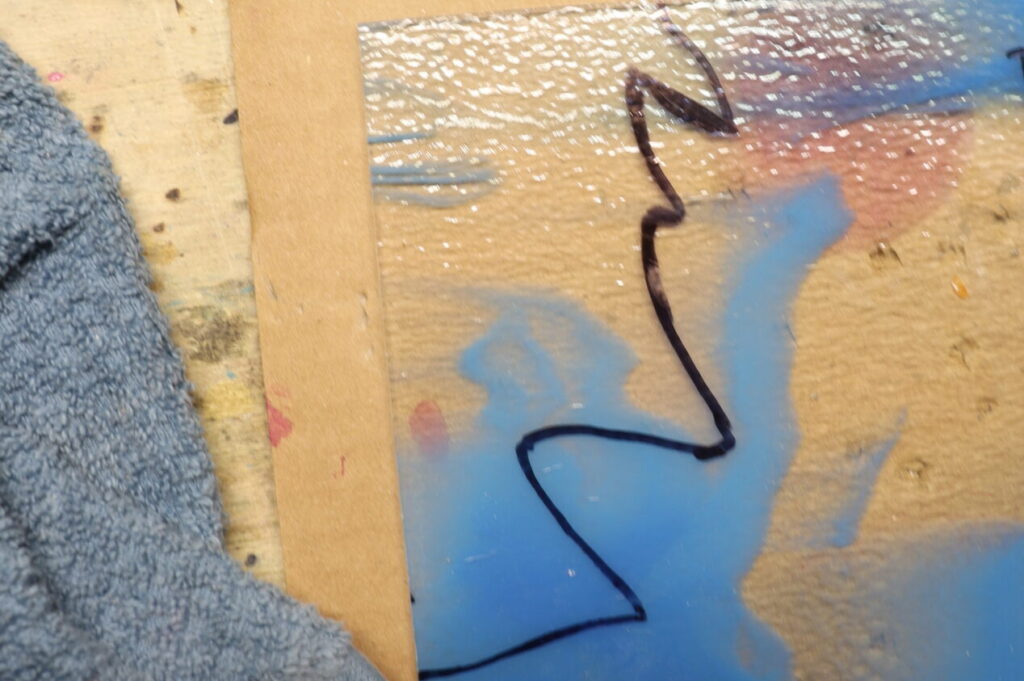
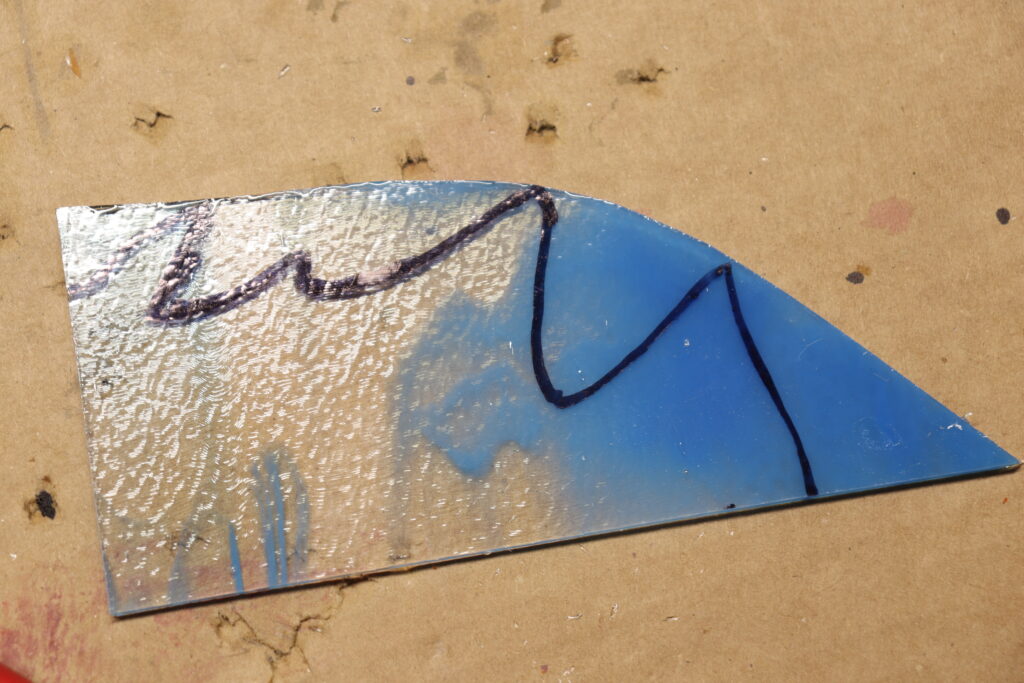
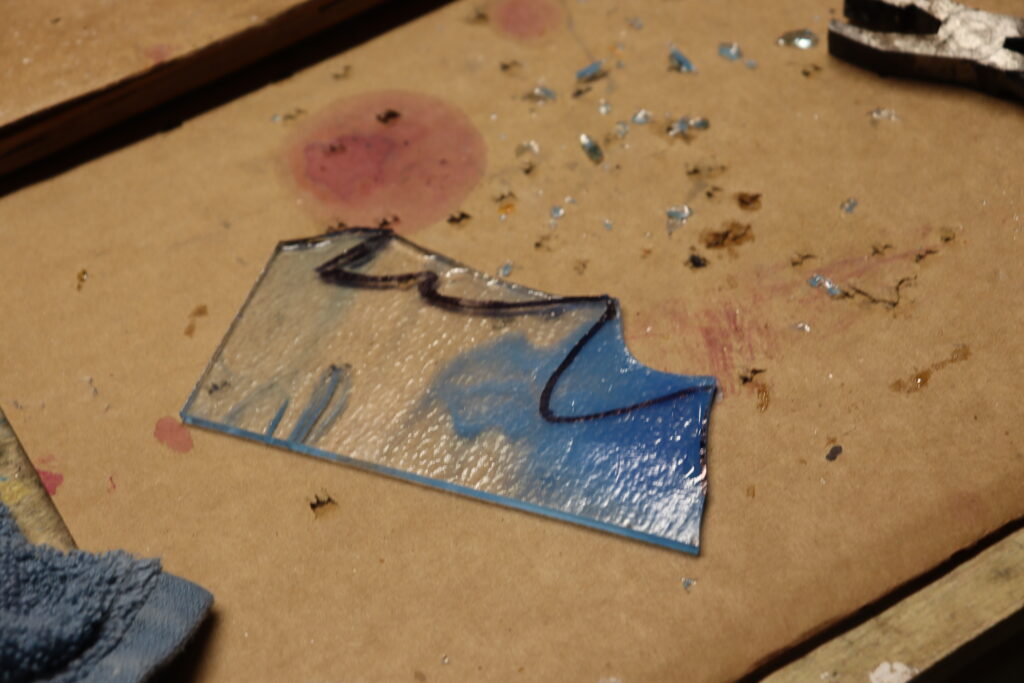
The final piece will be the sky. This is by far the most intricate of all the pieces to cut. I readjusted my original pattern because things had shifted a bit from it. I then drew my pattern on the glass using a piece that I had sitting around from Delphi Glass. They have beautiful glass and sell a bit on Amazon. However, this particular piece was not available there. Unicoshape has a 12-piece 6×4 pack of Mixed Blue that would work perfectly! You will have an excess, but the price is great and you can start building up a collection of glass for future pieces. I cut as much off of the pattern as I could with my pliers. I usually start with my Running Pliers and get off as much access with my Grozing Pliers. I used my grinder quite a bit for this piece. PATIENCE is IMPORTANT here. It took a while and I ended up with a bit of a gap. However, I think it will be fine after I tape and solder everything together.
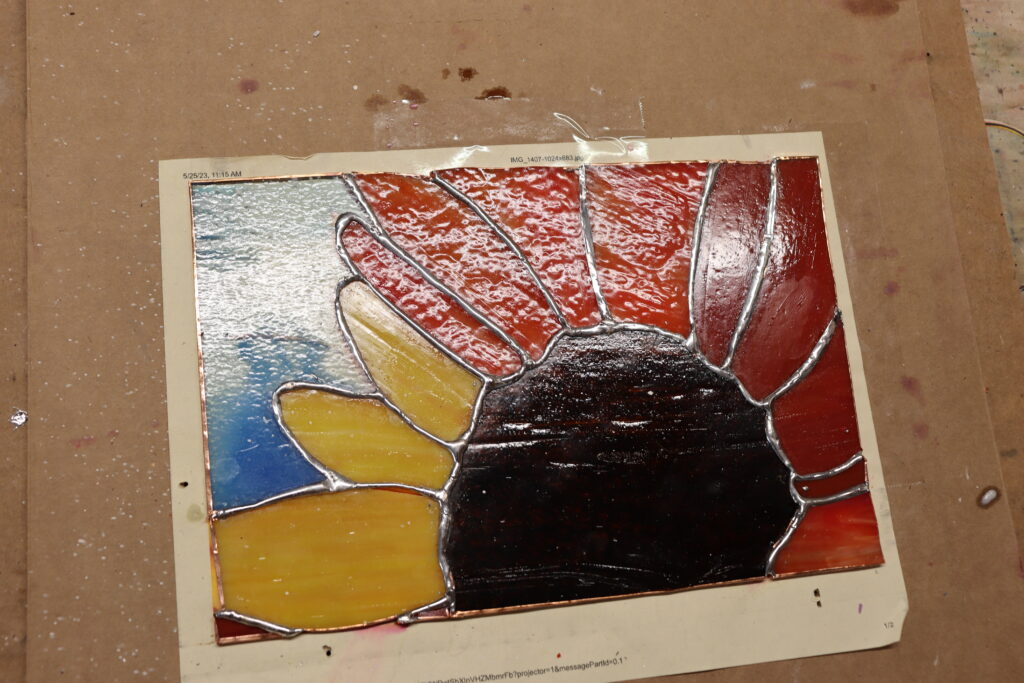
Once your glass is cut, it’s time to tape! Your tape line will be the guiding point for your solder, so make sure your lines are tidy and straight. You want the tape to be even on both sides so that you cannot see your solder through the back of the glass.
As you solder, you will want to be sure to apply your flux as you go. This will help your solder flow into the spaces that are between your copper tape. I always use the60/40 solder. This will work best for most of your projects.
“You want your solder to be thick enough so that it will bead up. This is how mine looked after I finished the first side. You will then need to flip your glass over and do the exact same thing on the backside. You will not use as much solder on the backside since some solder from the front will seep through to the back.”
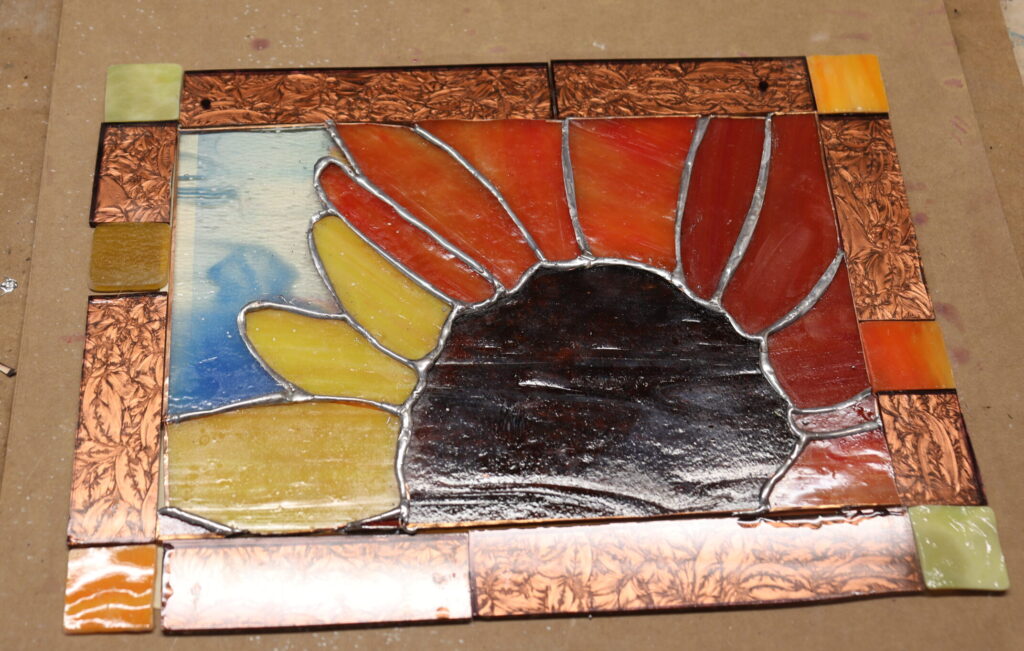
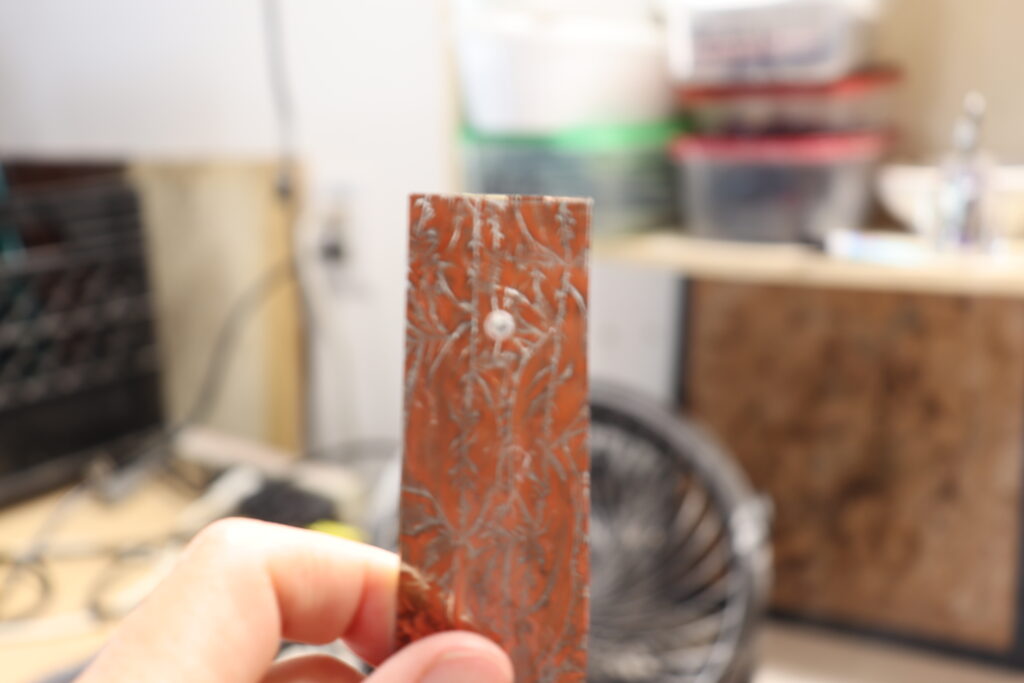
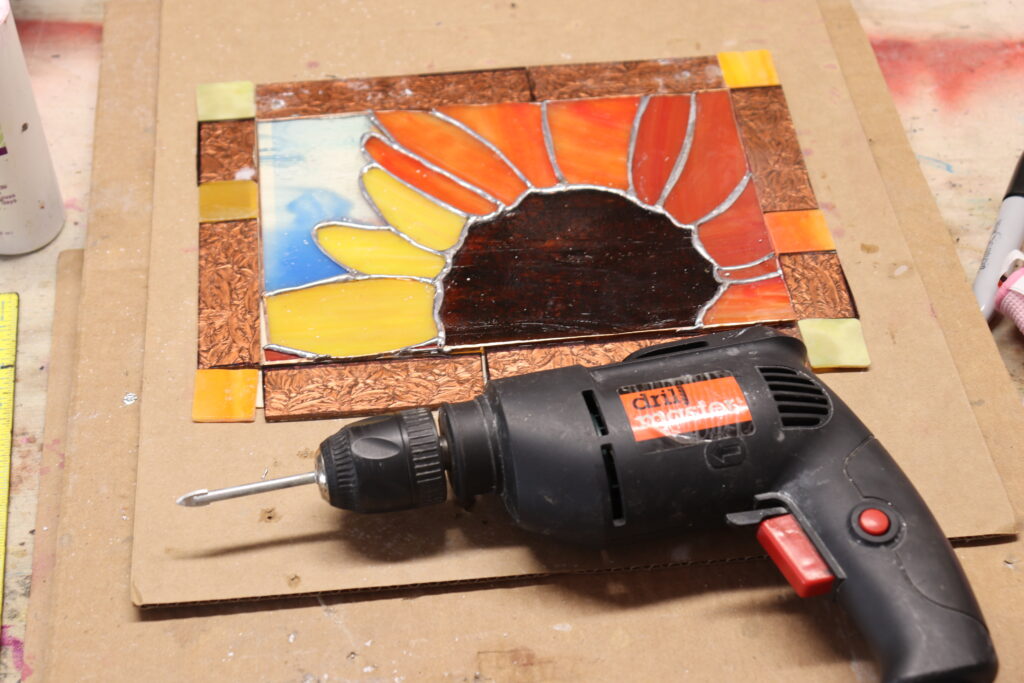
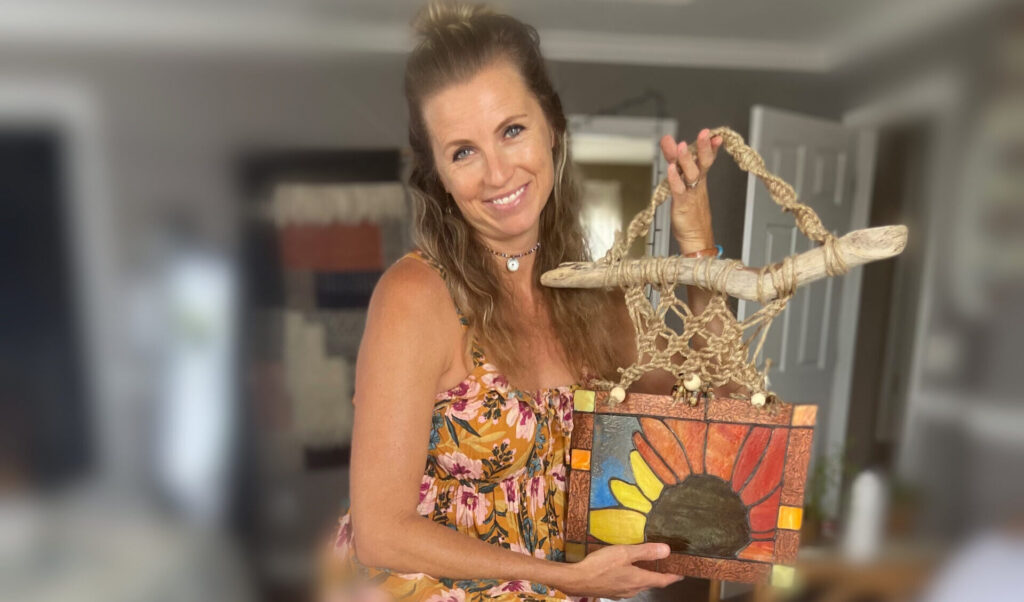
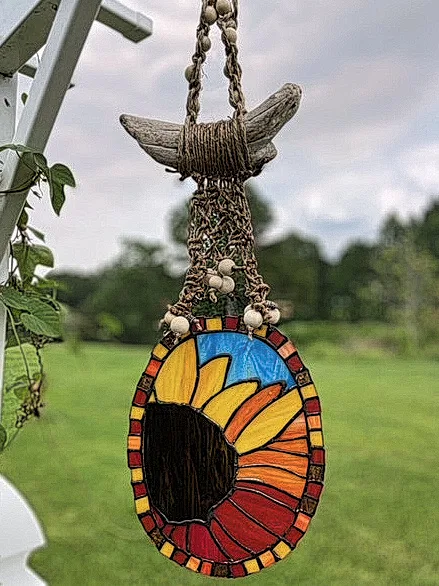
It’s important to think about the function of your stained glass. Will it hang, be placed in a window, be part of a piece of furniture? I plan to hang mine using a macrame’ cord. In order to do this, I am going to create a frame to even out my edges and drill holes in my piece in order to hang it. I’m using glass scraps that I have from left over projects to do this. You will most likely have left over glass pieces from this project that you can use.
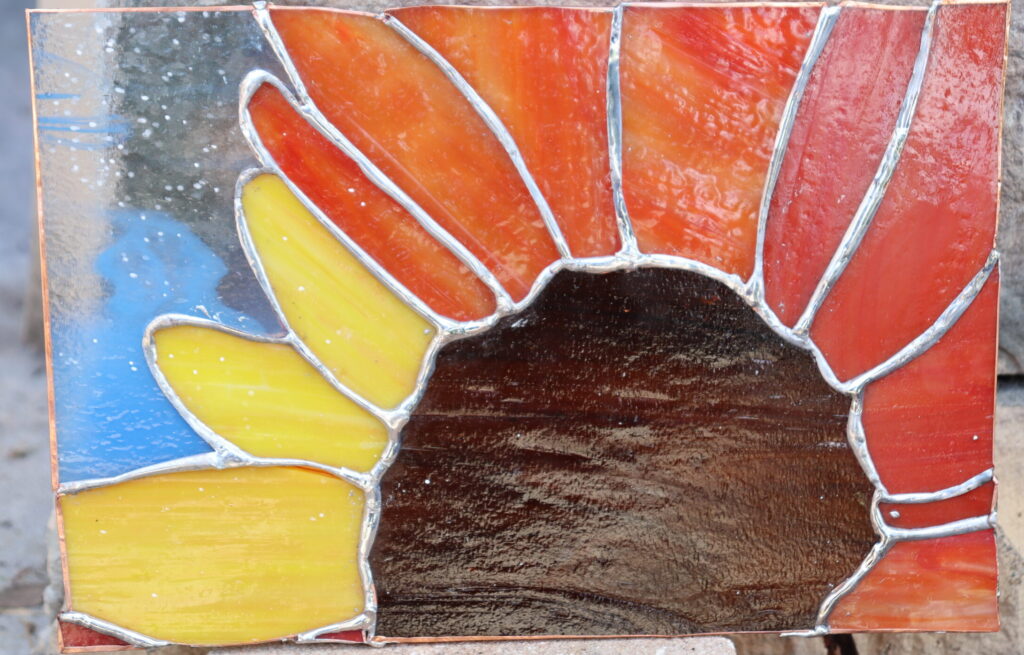
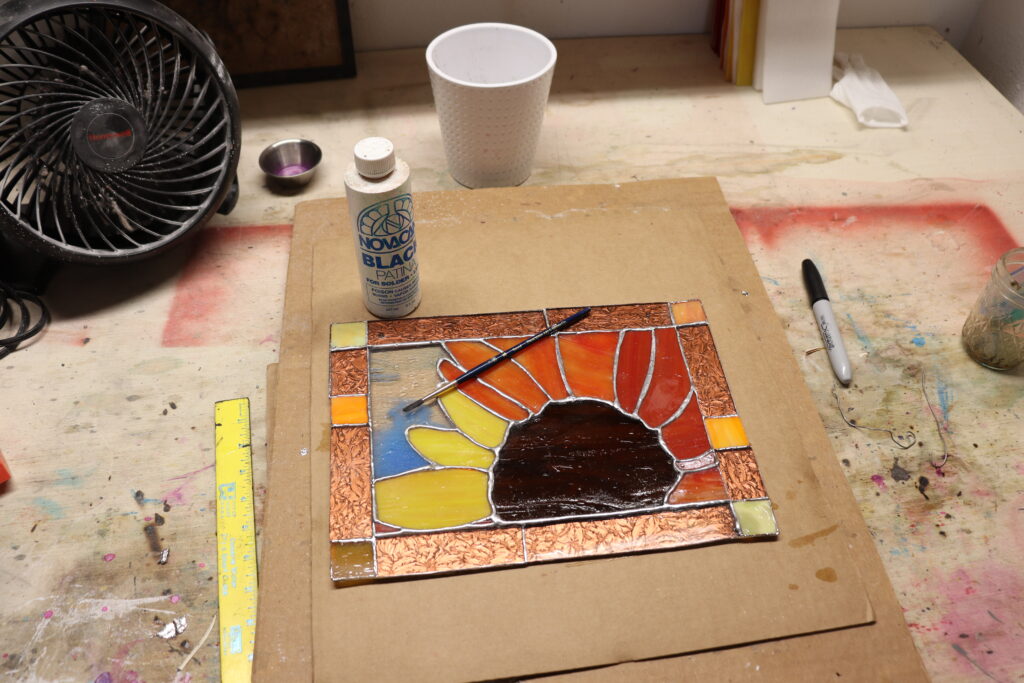
Patina is used to turn your solder from bright silver to a more weathered black or copper color. I am currently using Novacan Black Patina with most of my pieces, but you may want to experiment with both colors for your creations! An old paint brush is used to apply the patina onto the solder. It should turn your metal immediately; however, I usually let my patina settle for about 30 minutes before wiping it off. You will want to be sure to apply the patina to both sides of your glass.