
Oh, how I love old things! There’s just something about looking at them and imagining all the stories they could tell. But you know what’s even better? Taking something old and turning it into something new and beautiful! One of my favorites is taking old windows and turning them into stained glass masterpieces. And the best part? You can usually find an old unwanted window for $15 – $20 at your local flea market. The more worn and weathered, the better! So, I put together a tutorial to show you how to turn that old window of yours into a seriously beautiful work of art. Plus, it’s super easy and perfect for beginners!
1. Antique Window (The older and more worn, the better!)
2. Stained Glass Multipack (I will link some of my favorite glass packets below.)
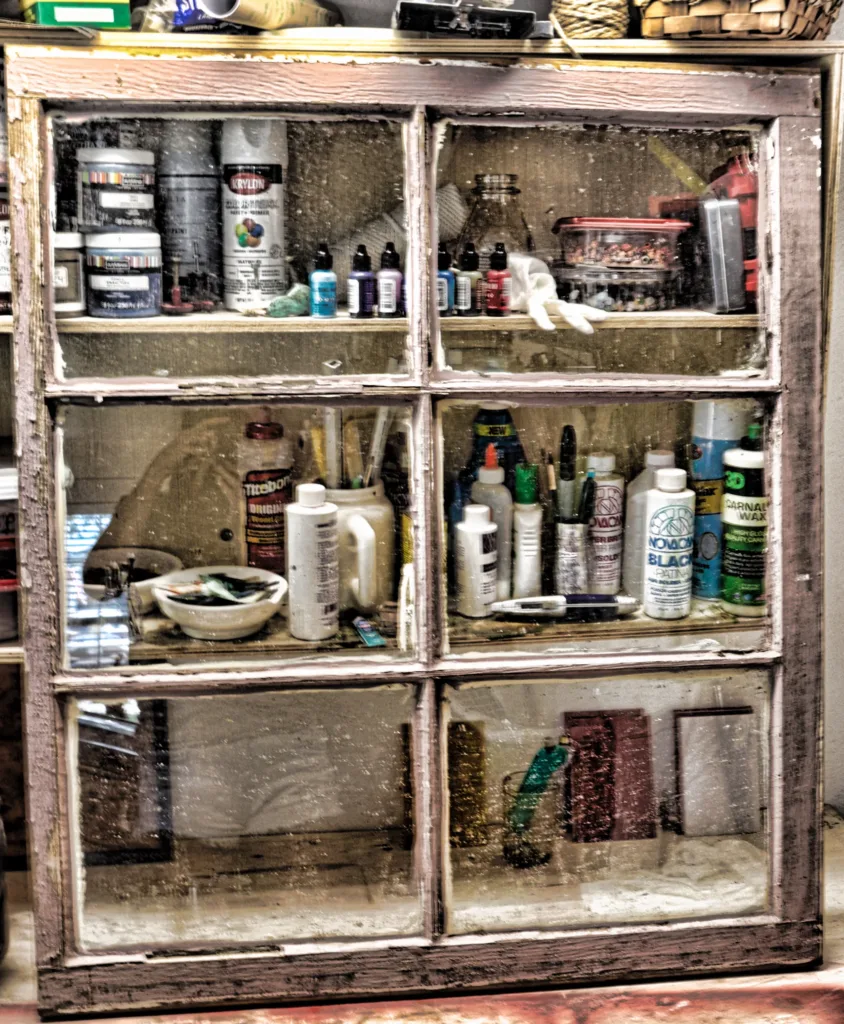
Antique windows aren’t too hard to come by. My local flea market has loads of them, and I’ve never paid more than $20 for one. In my opinion, the more rundown the window, the better! It makes the process of removing the original glass a bit easier. You can usually repair a bit of wood rot with a bit of sanding and some paint. Just be sure your wood is sturdy enough to hold your new stained glass securely. After purchasing your window, you will want to remove the old glass and clean up the window a bit. You will need to have a hammer and chisel; I use a flathead screwdriver; it helps to remove the glass and the trim that holds the old glass in place. View my stained-glass window tutorial video to learn exactly how to remove your glass.
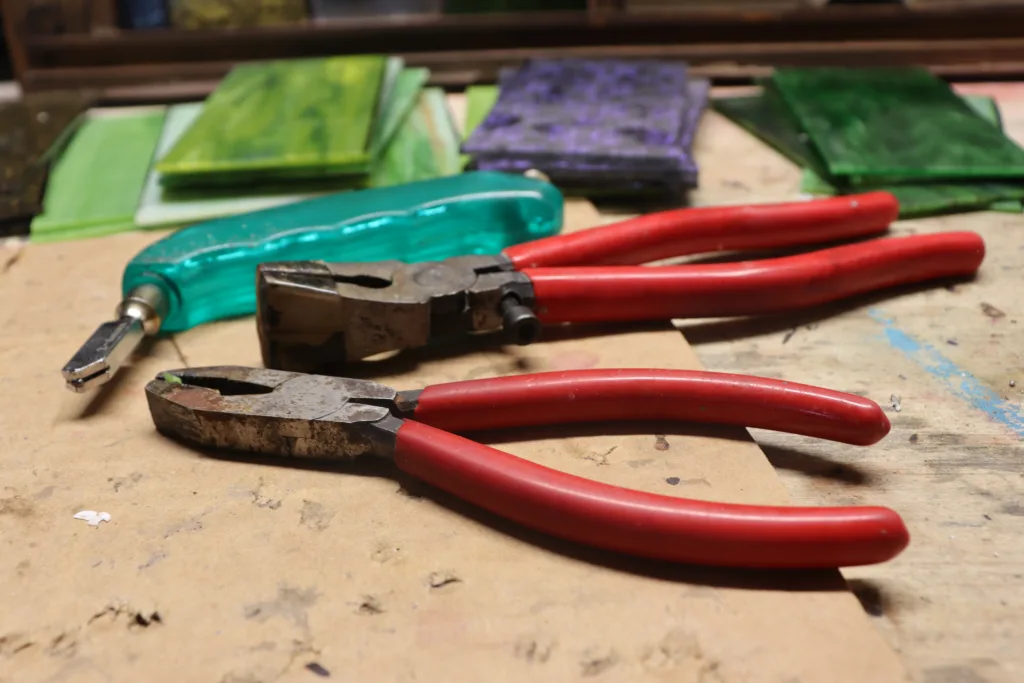
The first step is cutting your glass.
This is a great project for beginners because your cuts should be minimal and all should be nice and straight. If you purchase one of the glass packs above, they should come in precut smaller squares. The only cutting needed will be your end pieces. You will need to trim some to get them to fit into your window panel.
A grinder shouldn’t be needed, but if you have one you can always use it to clean up any jagged cuts. If you don’t have one and are looking for a cheaper way to tidy up your edges, you can always purchase a glass grinding stone to remove any unwanted edges. If your cuts are nice and straight, you may be able to get away with not using any type of grinding tool!
I precut all of my pieces to one standard size for each panel. I decided to do 3 of my 6 panels with 3′ by 3′ squares, and the other 3 panels with 3′ by 6′ rectangles. I then trimmed my pieces to fit into each panel. I used a piece of cardboard for my panel template. I precut and measured it so that it would slide easily into each panel of my window. This became my pattern for each of my 6 panels.
If you need any guidance in which tools to purchase to make your cuts, please reference my post titles “Stained Glass Tools for Beginners” for a description of tools and how to use them. Watch my tutorial video below to help you make the perfect cut when creating your stained-glass window.
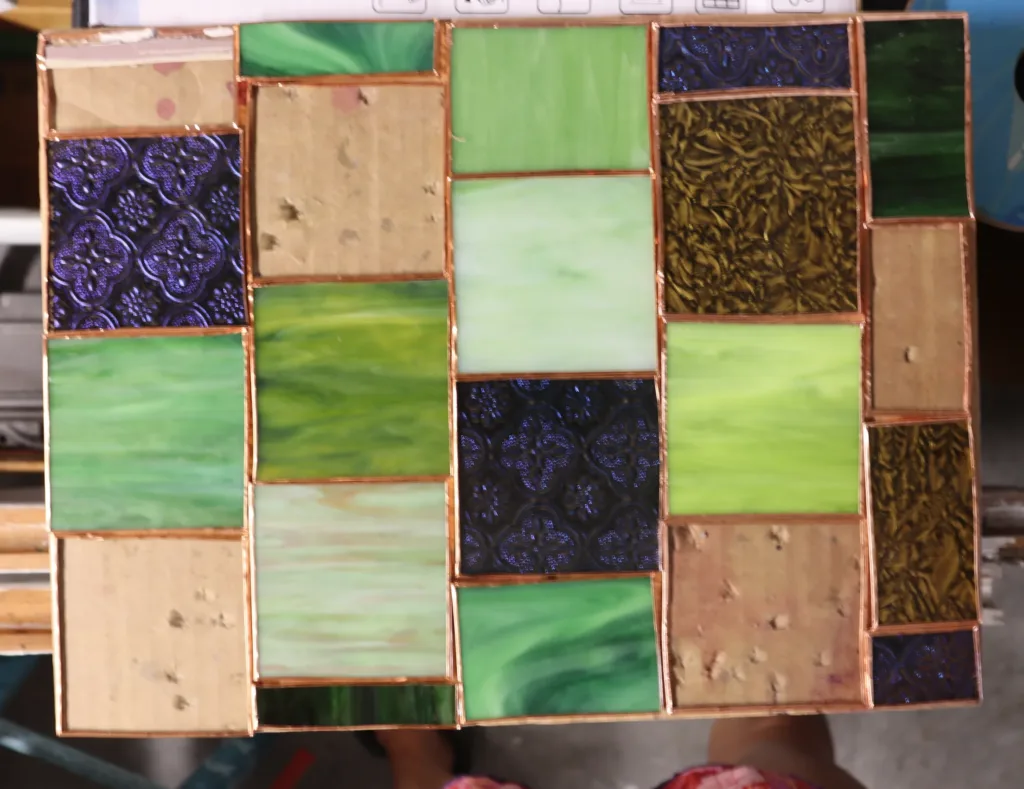
Next, is applying your copper tape to your glass to prepare it for solder.
“You will need to use copper tape to tape the edges of your cut glass pieces. This will serve as a guide for where your solder will adhere. Make sure your lines are straight, and your corners are sharp so that your solder will have a neat guide to follow.” Wach my video showing how I apply copper tape to my stained-glass window before applying solder.
After your done taping, it should look something like this….
You are almost done! One of your final steps is soldering your glass together.
Your last few steps before placing your new pane into your glass is to solder, patina, and polish. Solder is the process of melting your solder into the cracks of your glass to hold them together. You will use your FLUX to help your solder flow into these cracks. For a better description of this, you can always read my post, “Stained Glass Tools for Beginners”. You will solder both sides of the glass. Once complete, you will use your patina to add a weathered look to the solder. This will change the color of your metal from bright silver, to black. Again, you can read more about this process in the above post. Lastly, you will need to polish your glass. You can use and gentle soap, or glass cleaner, or a polish made specifically for stained glass. I am using 3D Carnauba Wax. I highly recommend it! You will want to gently clean your glass until your cloth is wiping clean with no black smudges. See my final touches in my tutorial video below.
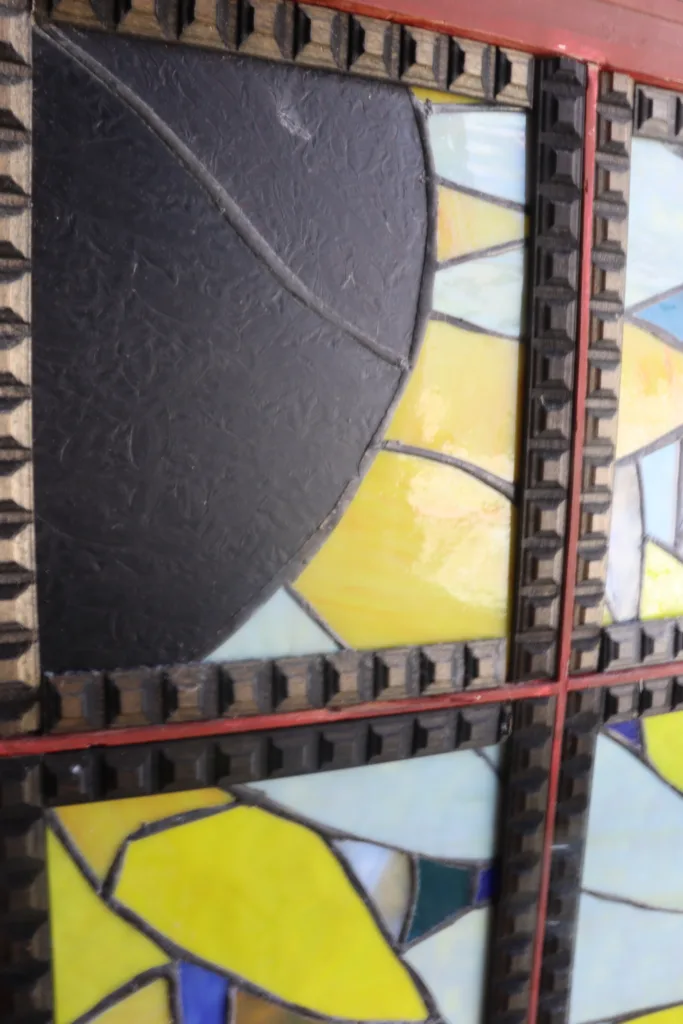
You will want to carefully place your new panels into your window. I tend to place my in as I go to make sure I have a nice fit. Sometimes a little grinding is needed if your glass is too big. Don’t force the glass because this will cause it to break. (I know this from experience)
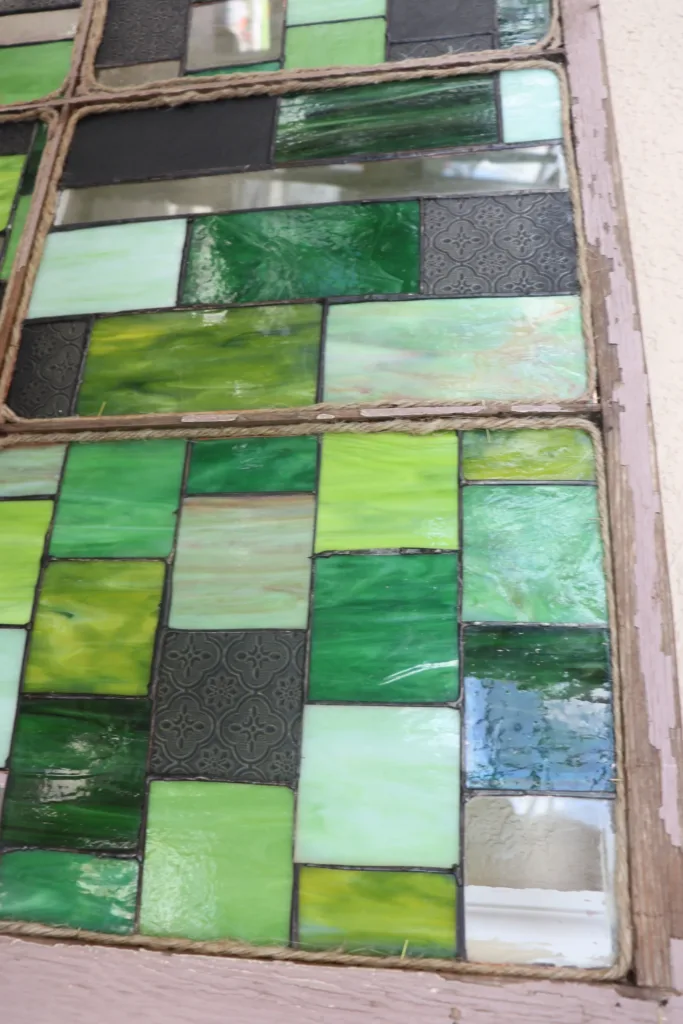
If your cuts aren’t as neat as you’d like, you can always add a trim to the backside to cover this up. I used a bit of macrame cord and some tacky glue. I’ve also used wood trim in the past. Just make sure it’s small enough that you can’t see if from the front of your stained glass piece.
I added a few nails with a nail gun to make sure my glass was secure and had no chance of falling out of the back. If you don’t have access to a nail gun, you could lightly tap a few tiny nails or pins into the back instead.
Lastly, add your appropriate hangers and enjoy your new work of art!
Please comment and share a picture of your final piece below!
Like what you see? Want to be informed when a new post is added? Join my mailing list!
Hi! My name is Aliza. I'm a collector of hobbies and never afraid to try a new DIY project. My favorite medium is glass. I absolutely love the way it can catch the light and transform the environment. Follow me and learn how to create your own glass art from home!