Want to learn to fuse glass from home in a microwave kiln? Check out my tutorial to learn how to make fused glass jewelry from home!
The Upcycled Collection
If you’ve read any of my previous posts, you know I LOVE glass art! The way the glass colors captures the light and transforms a space into something majestic is what captivates me.
I’ve recently made the discovery of the microwave kiln. I typically create stained glass, but a microwave kiln allows glass to be fused together by high temperatures. No copper tape and no solder! A microwave kiln is similar to a traditional kiln, but smaller and much cheaper! Before I bought it, I read a lot about the proper temperatures, times, even the different levels of workability and meltability with glasses. It all seemed a bit confusing to be honest. I just wanted to have fun with this. Luckily, microwave kilns are cheap! This took the pressure off of the technical stuff and allowed me to just experiment! If it was lying around the house, and it was glass, I fired it up in my new kiln! Some things broke, and others didn’t. Wine bottles were a win! Not only did they come in several beautiful colors, but I seem to have an ongoing abundance of empties flowing through our recycling bin!
I learned a bunch! And I’ve created some beautiful glass jewelry along the way! Follow my tutorial to use a microwave kiln to create your own beautiful jewelry from home!
Supplies Needed to Create Recycled Glass Jewelry in your Microwave Kiln
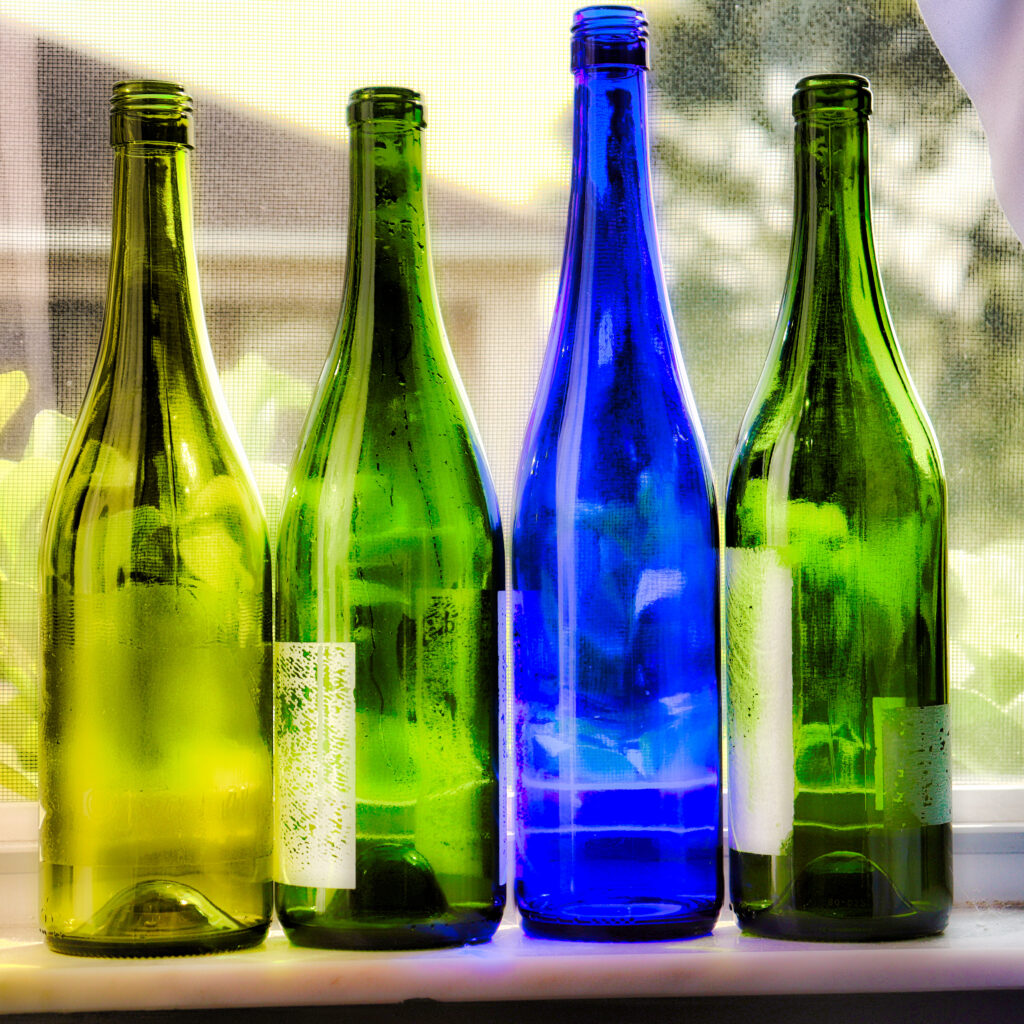
1. Wine bottles….this is the fun part! They typically come in green, clear, and blue.
6. Cordless Drill
Preparing Your Glass for Your Microwave Kiln
In this tutorial, I am using wine bottles to create my jewelry. However, you can use any glass bottles that you have lying around your house. You will definitely need a diamond drill bit hole set to drill through your glass. Don’t get too excited, ladies. Although these shiny drill bits are pretty, they won’t bling up your workbench too much. They also won’t break the bank! I bought my set for under $10.
Diamond drill bits are made by combining industrial diamonds with metal or other binding materials. Wait until you see how fast they can get through a wine bottle! You’ll definitely want to wear safety goggles, cutting gloves, and an apron for this step. It can get messy!
I drill my glass in my utility sink in my garage. If you don’t have an outside sink, I suggest getting a large plastic tub that you can fill with water. The water not only provides resistance when the drill bit is pressing against the glass, but it also contains the shards of glass and eliminates glass dust.
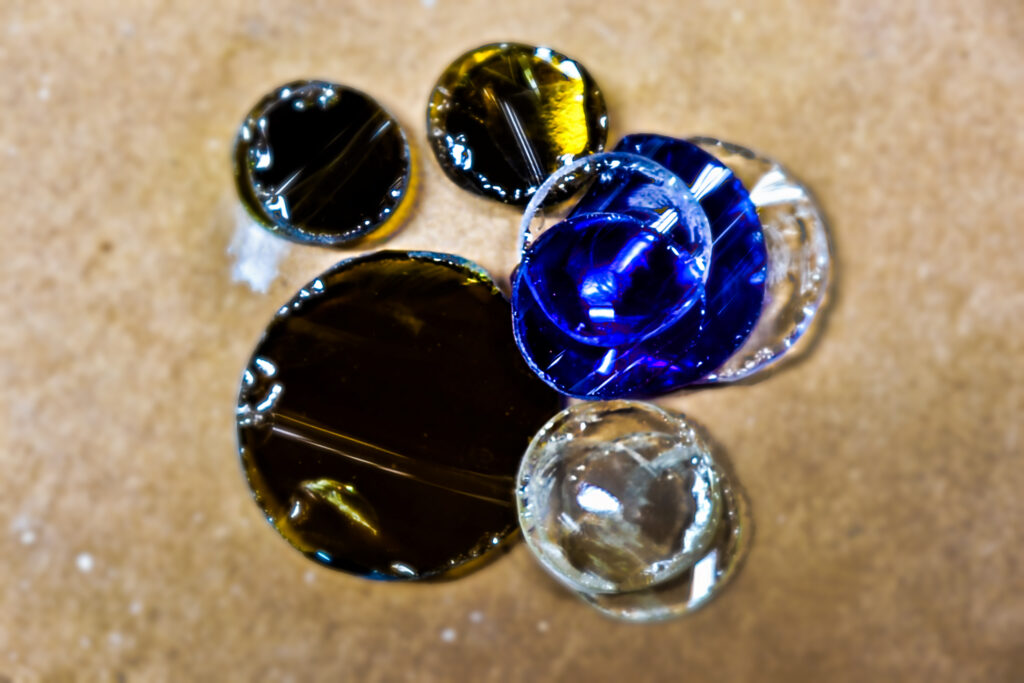
Fusing Your Glass Circles in Your Microwave Kiln
A microwave kiln is comprised of two pieces – the base and the lid. The lid is where heat is generated, and it has a metal interior and porous exterior. Although there are different brands of microwave kilns, they are all manufactured in the same factory in China. Therefore, it is unlikely that one brand is better than the other. The microwave kiln provided in the link below came with all the required tools and various glasses to experiment with. This was a great starting point for me and gave me plenty of materials to use to get acquainted with my new kiln. It’s crucial to use a separate microwave for the kiln rather than the one in your kitchen. I purchased an outside microwave for my kiln, and it cost $30 at my local Goodwill.
So, how do I create jewelry from my fused glass pieces?
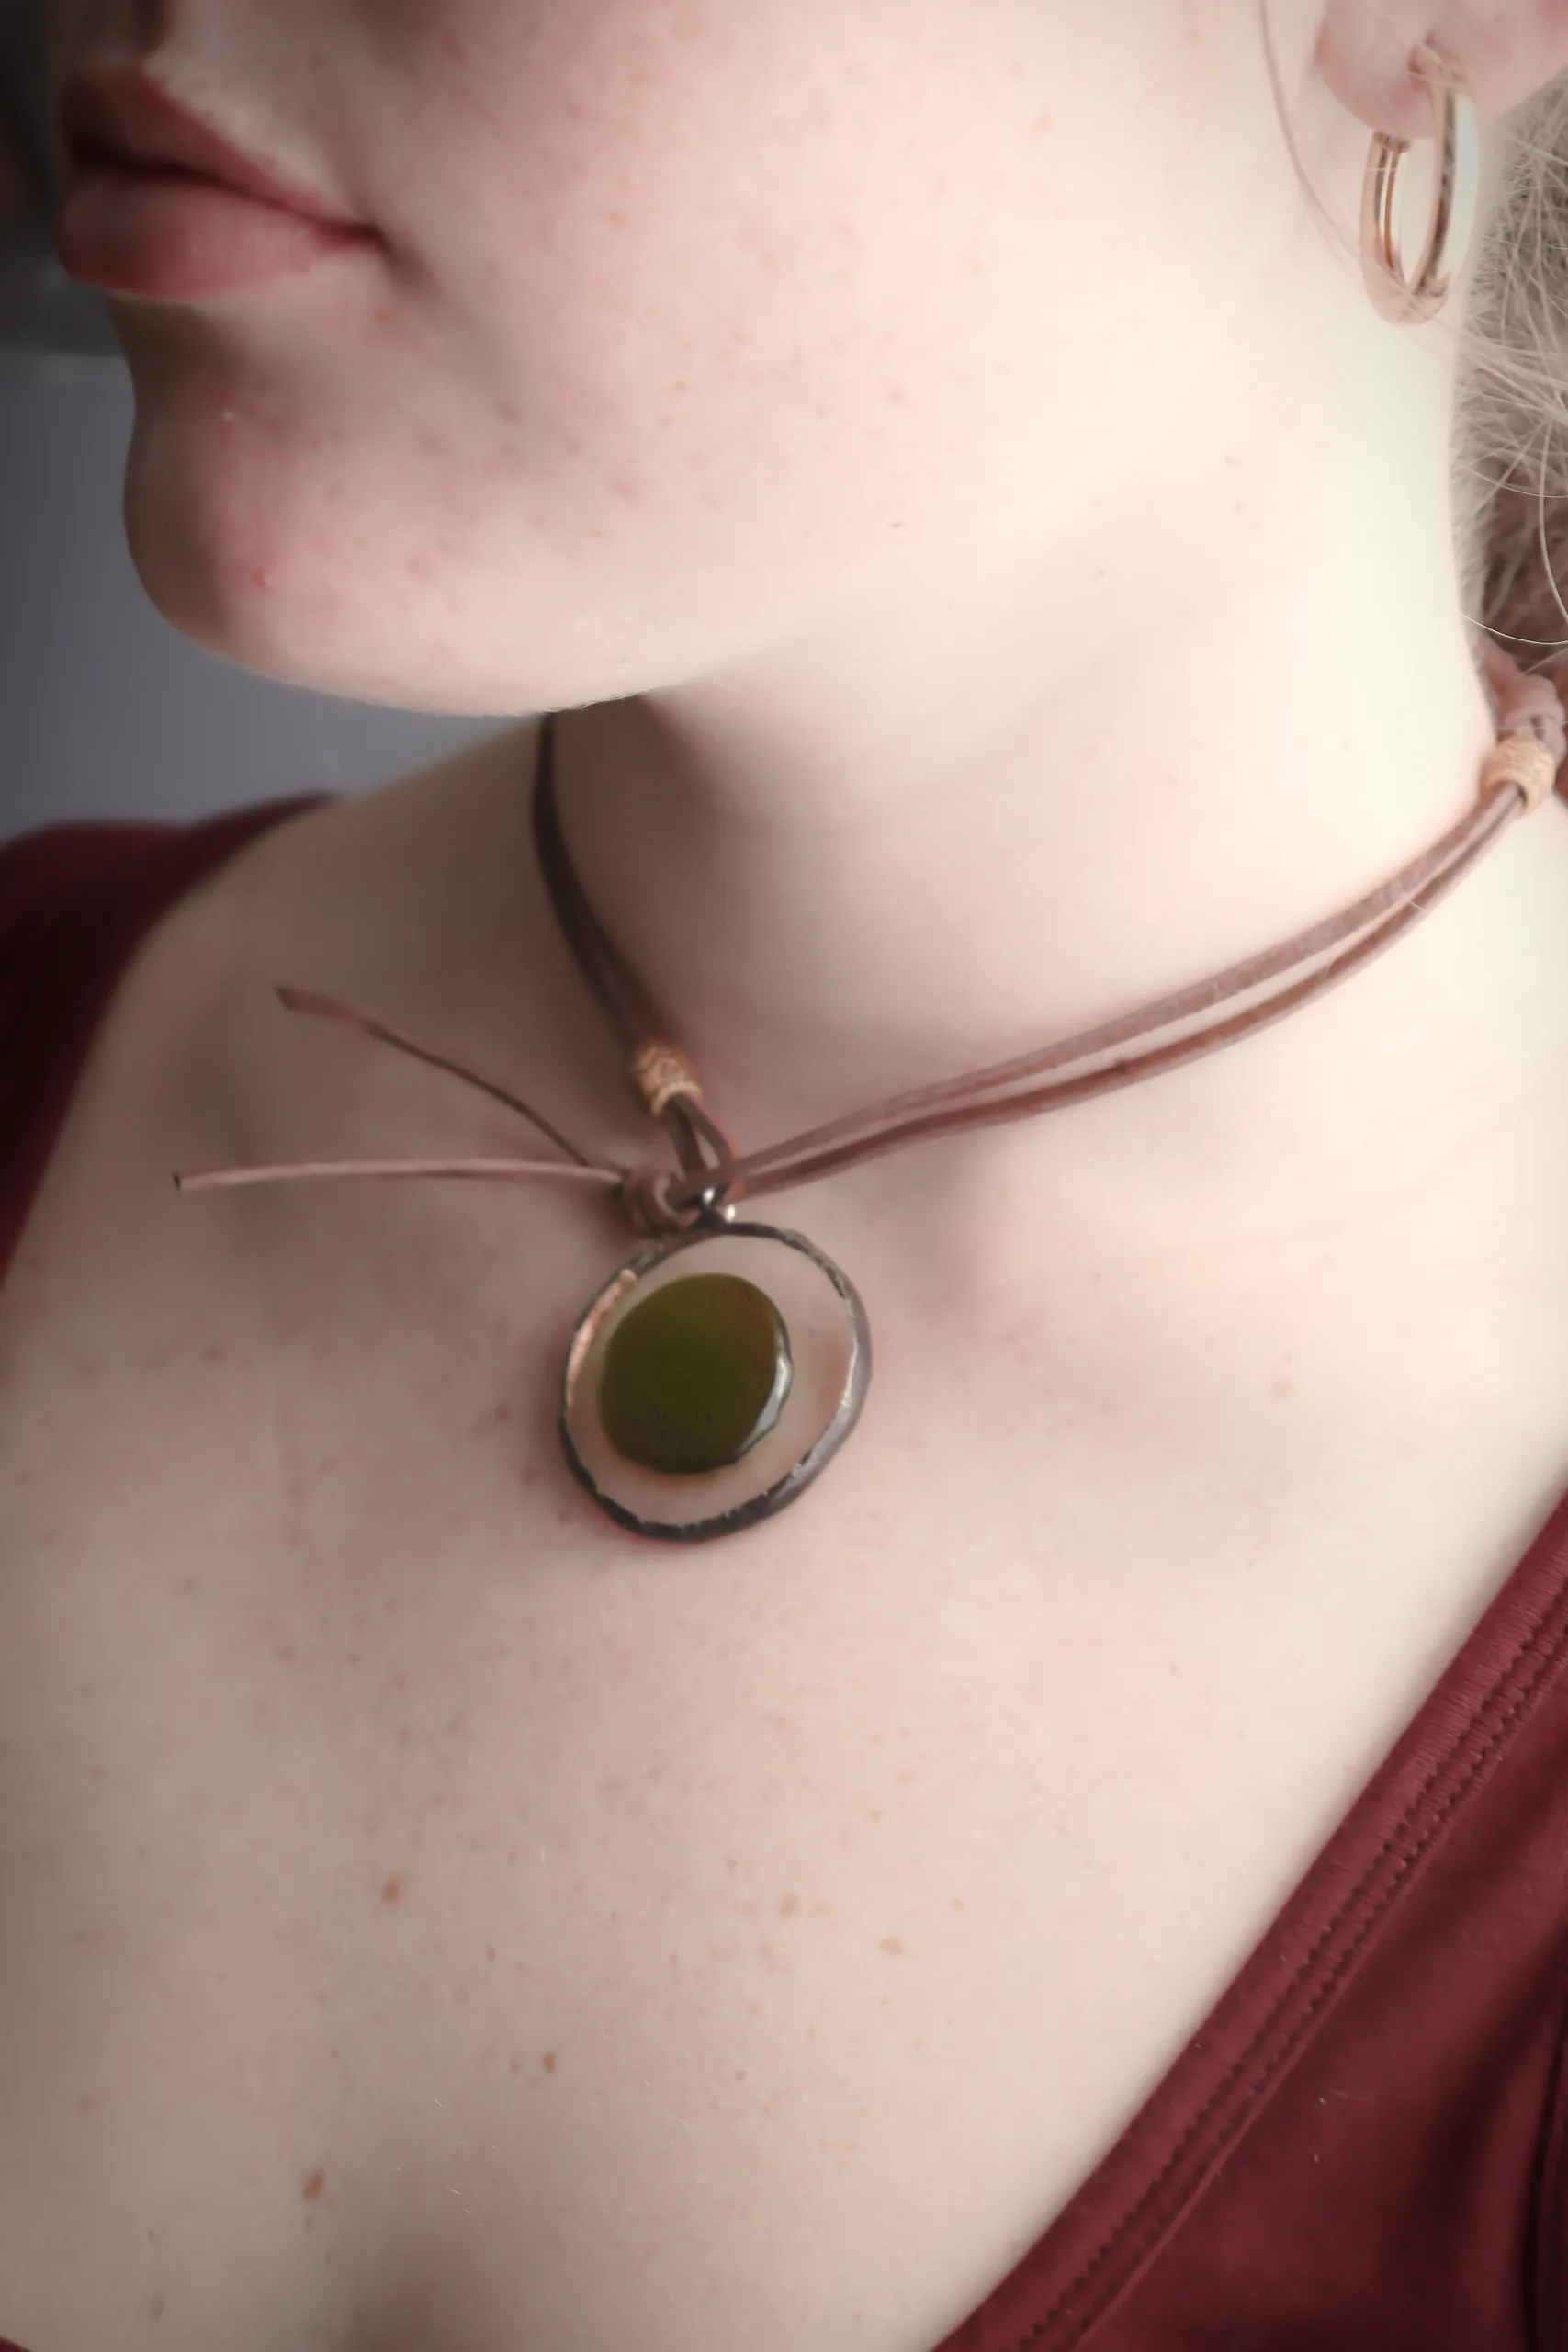
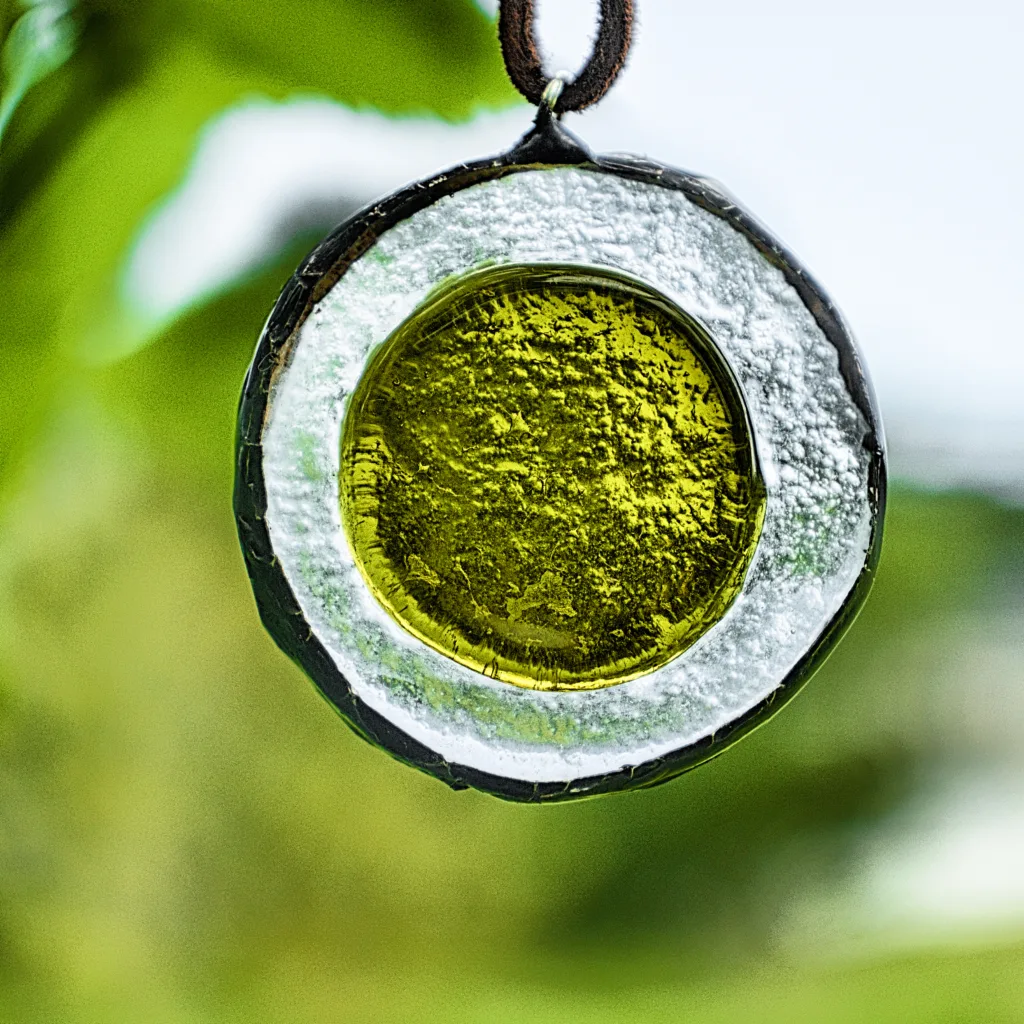
Drill Holes
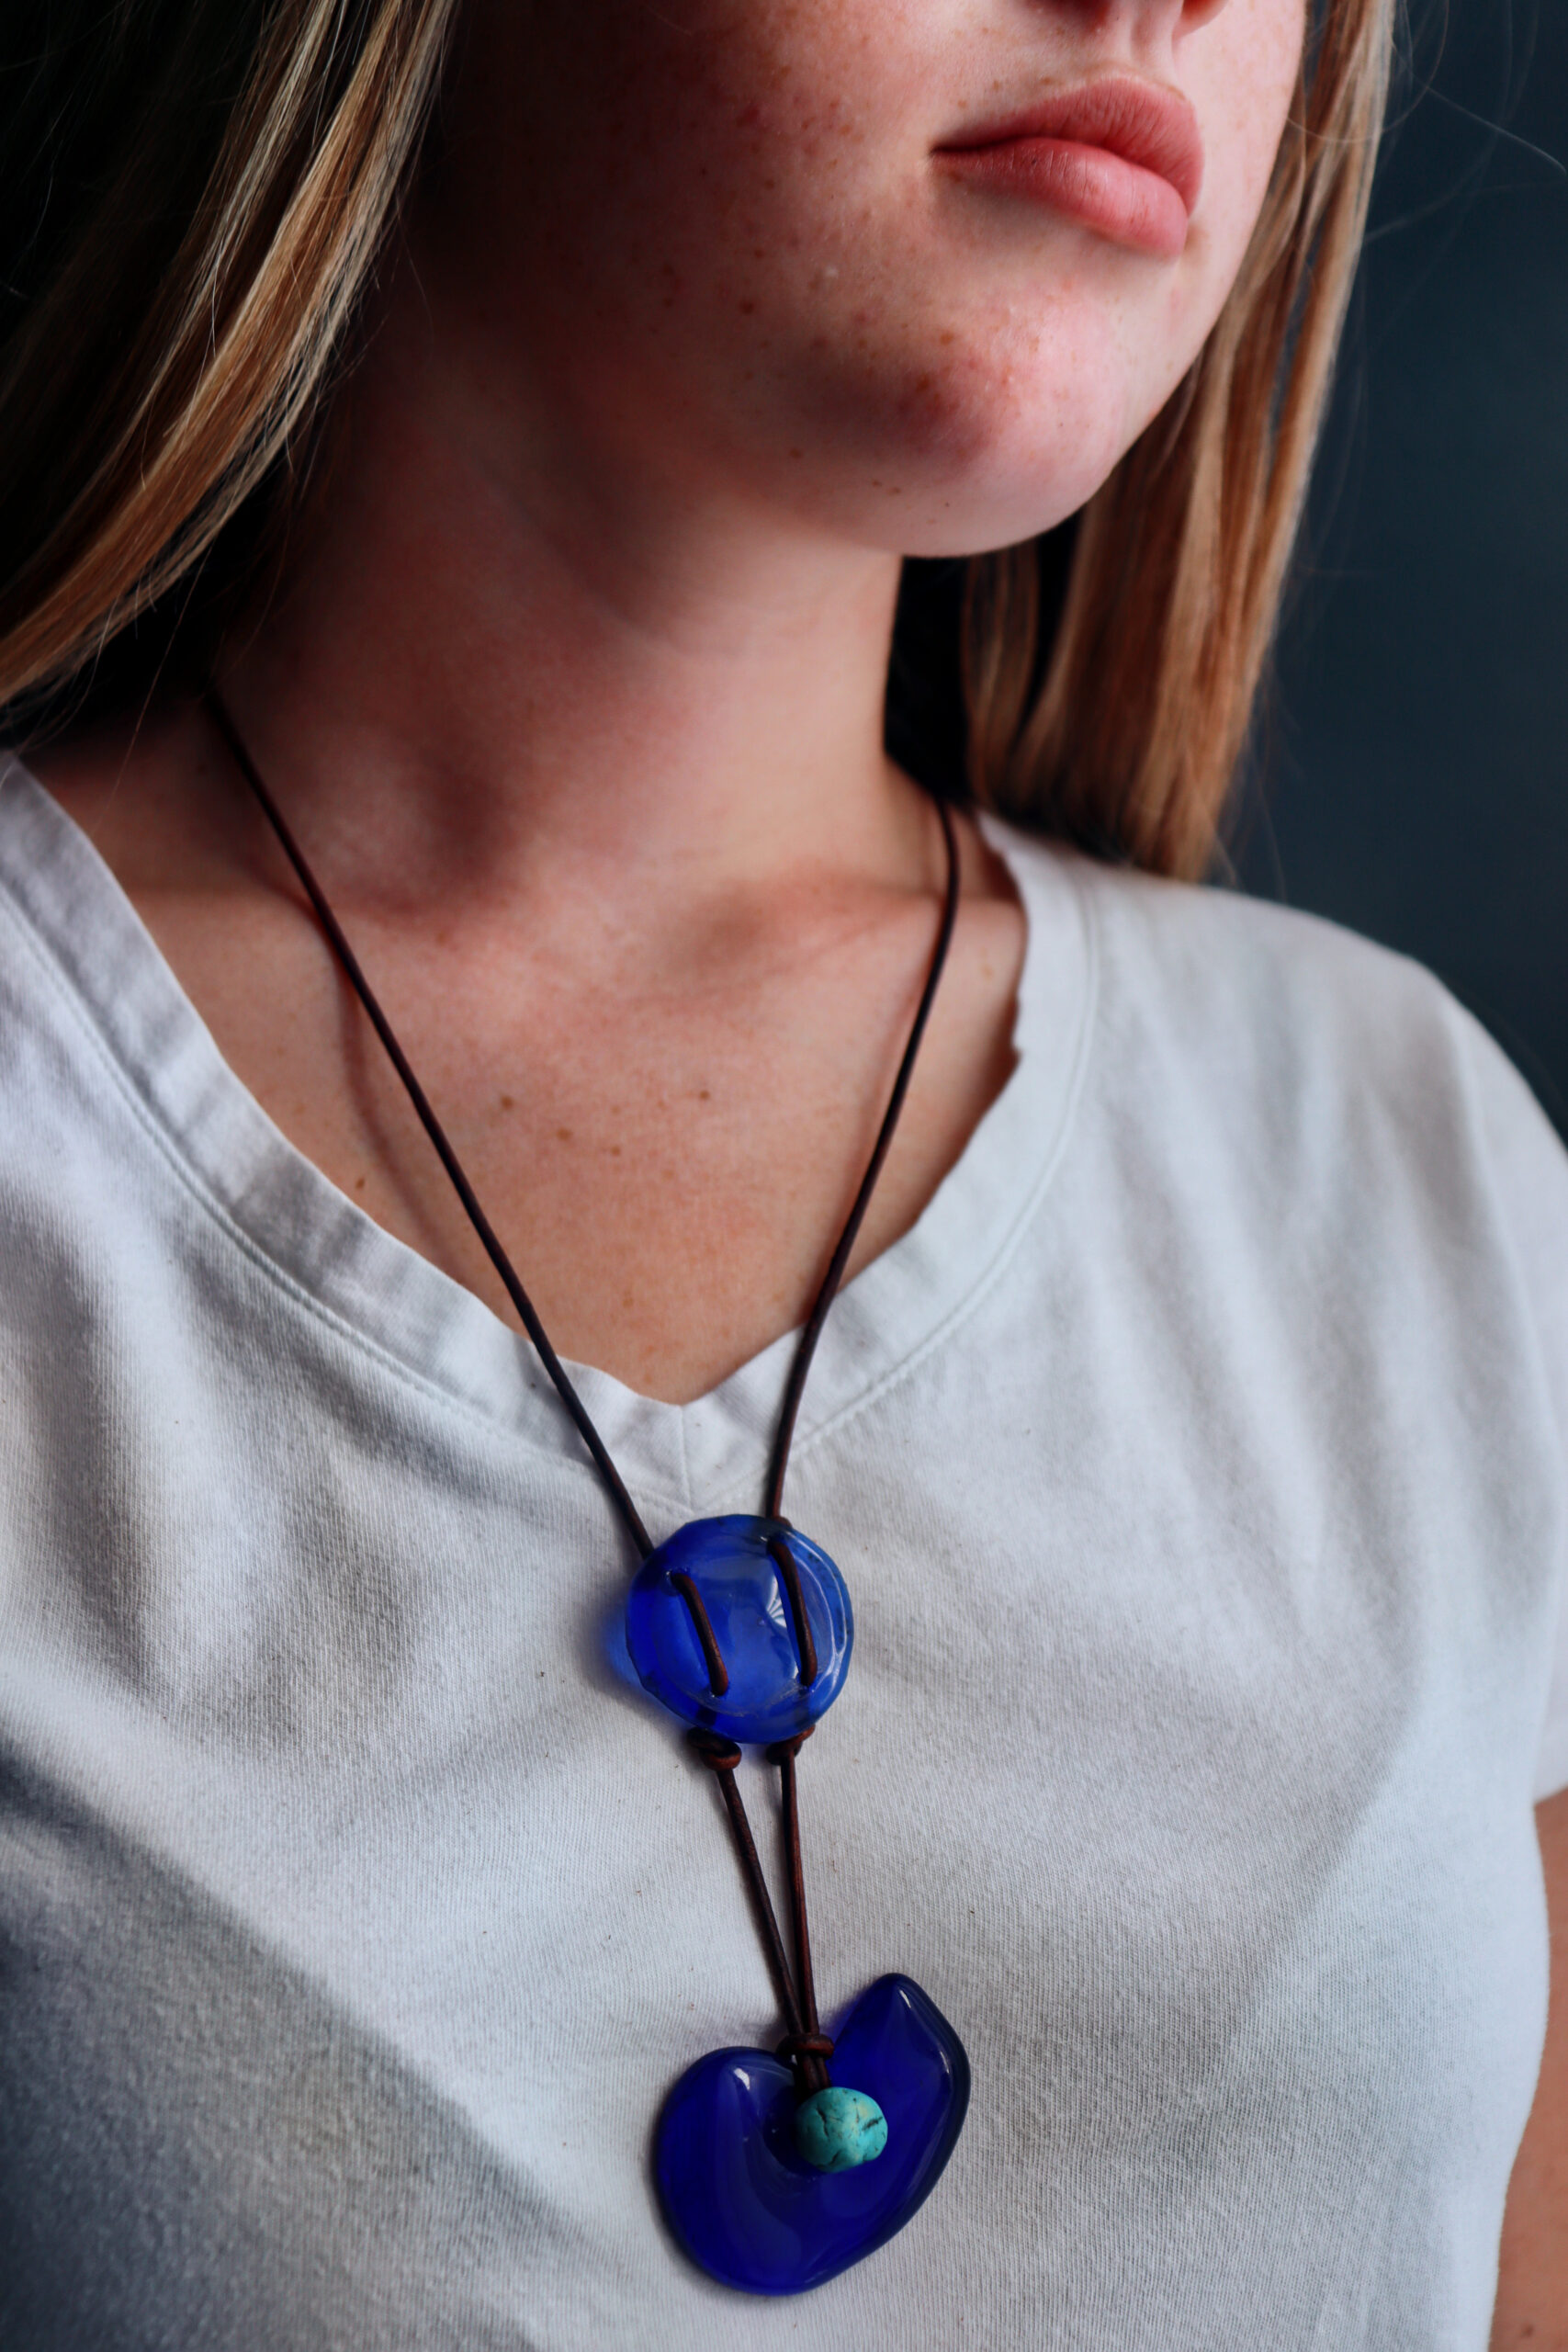
This is my favorite method, because it results in the simplest and tidiest looking pieces. It took me a few tries to master my drilling, but once I figured it out, it’s very easy! You will need a diamond drill bit set to do this. This is different than the one mentioned above. It drills small holes, rather than circles. I’ve been very happy with the one that I purchased. The trick is to start your drilling at an angle. Once you make a good indention in your glass, you can straighten your drill out to make your hole. I can get through most of my glass pieces in under 2 minutes. Below is a piece that I have created with this method.
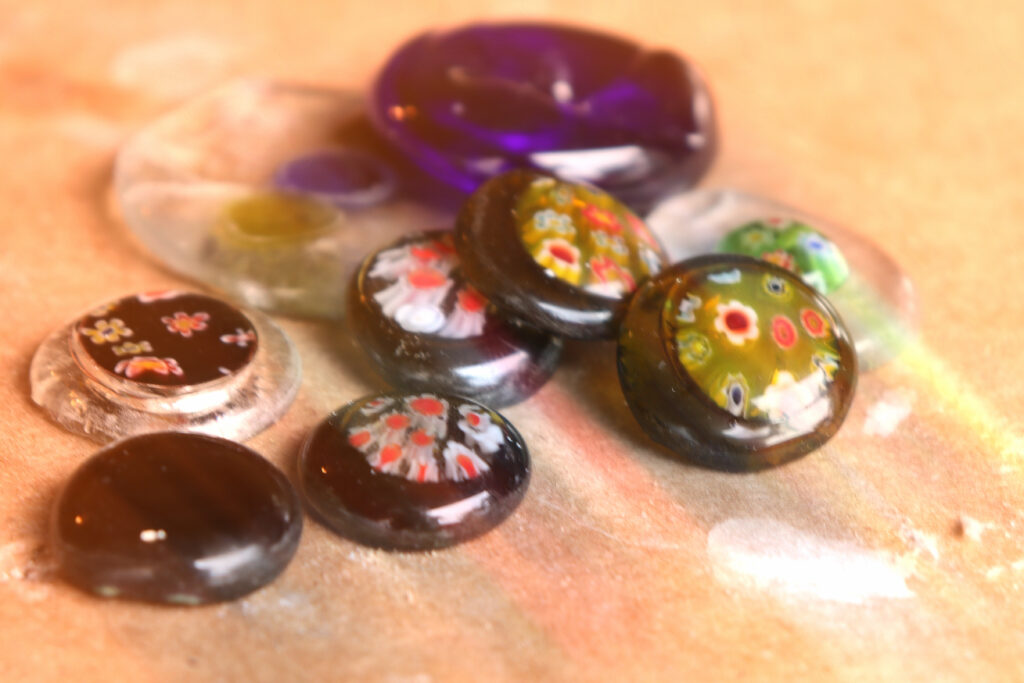
Once you have a collection of pieces, you are ready to create your jewelry! There are a few different ways that you can create jewelry from your fired pieces. Some additional tools and supplies that I mention are linked below.
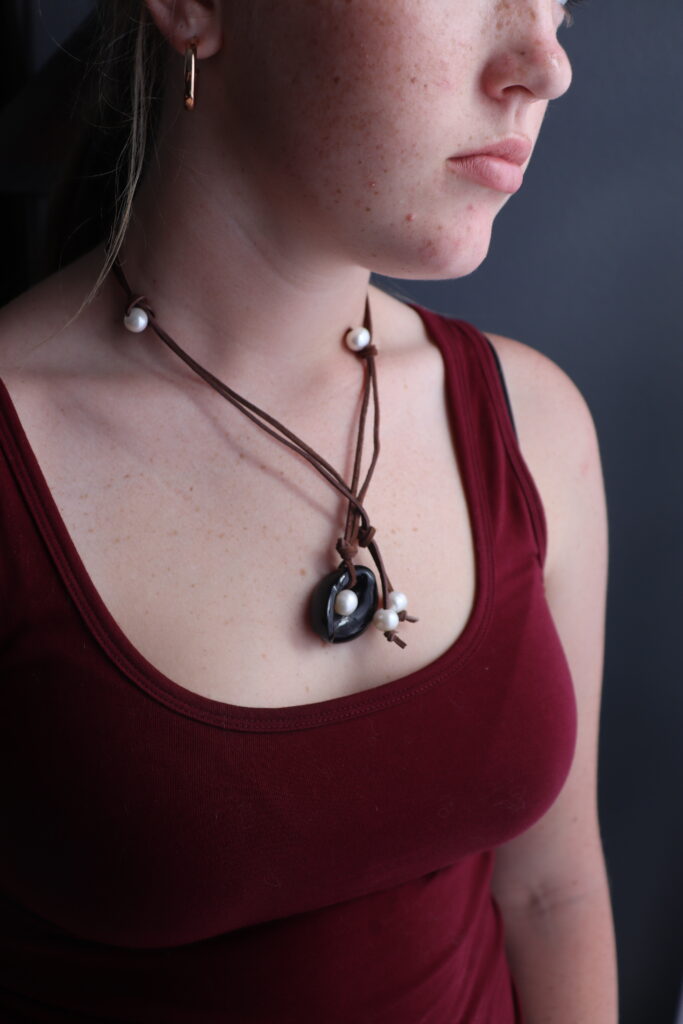
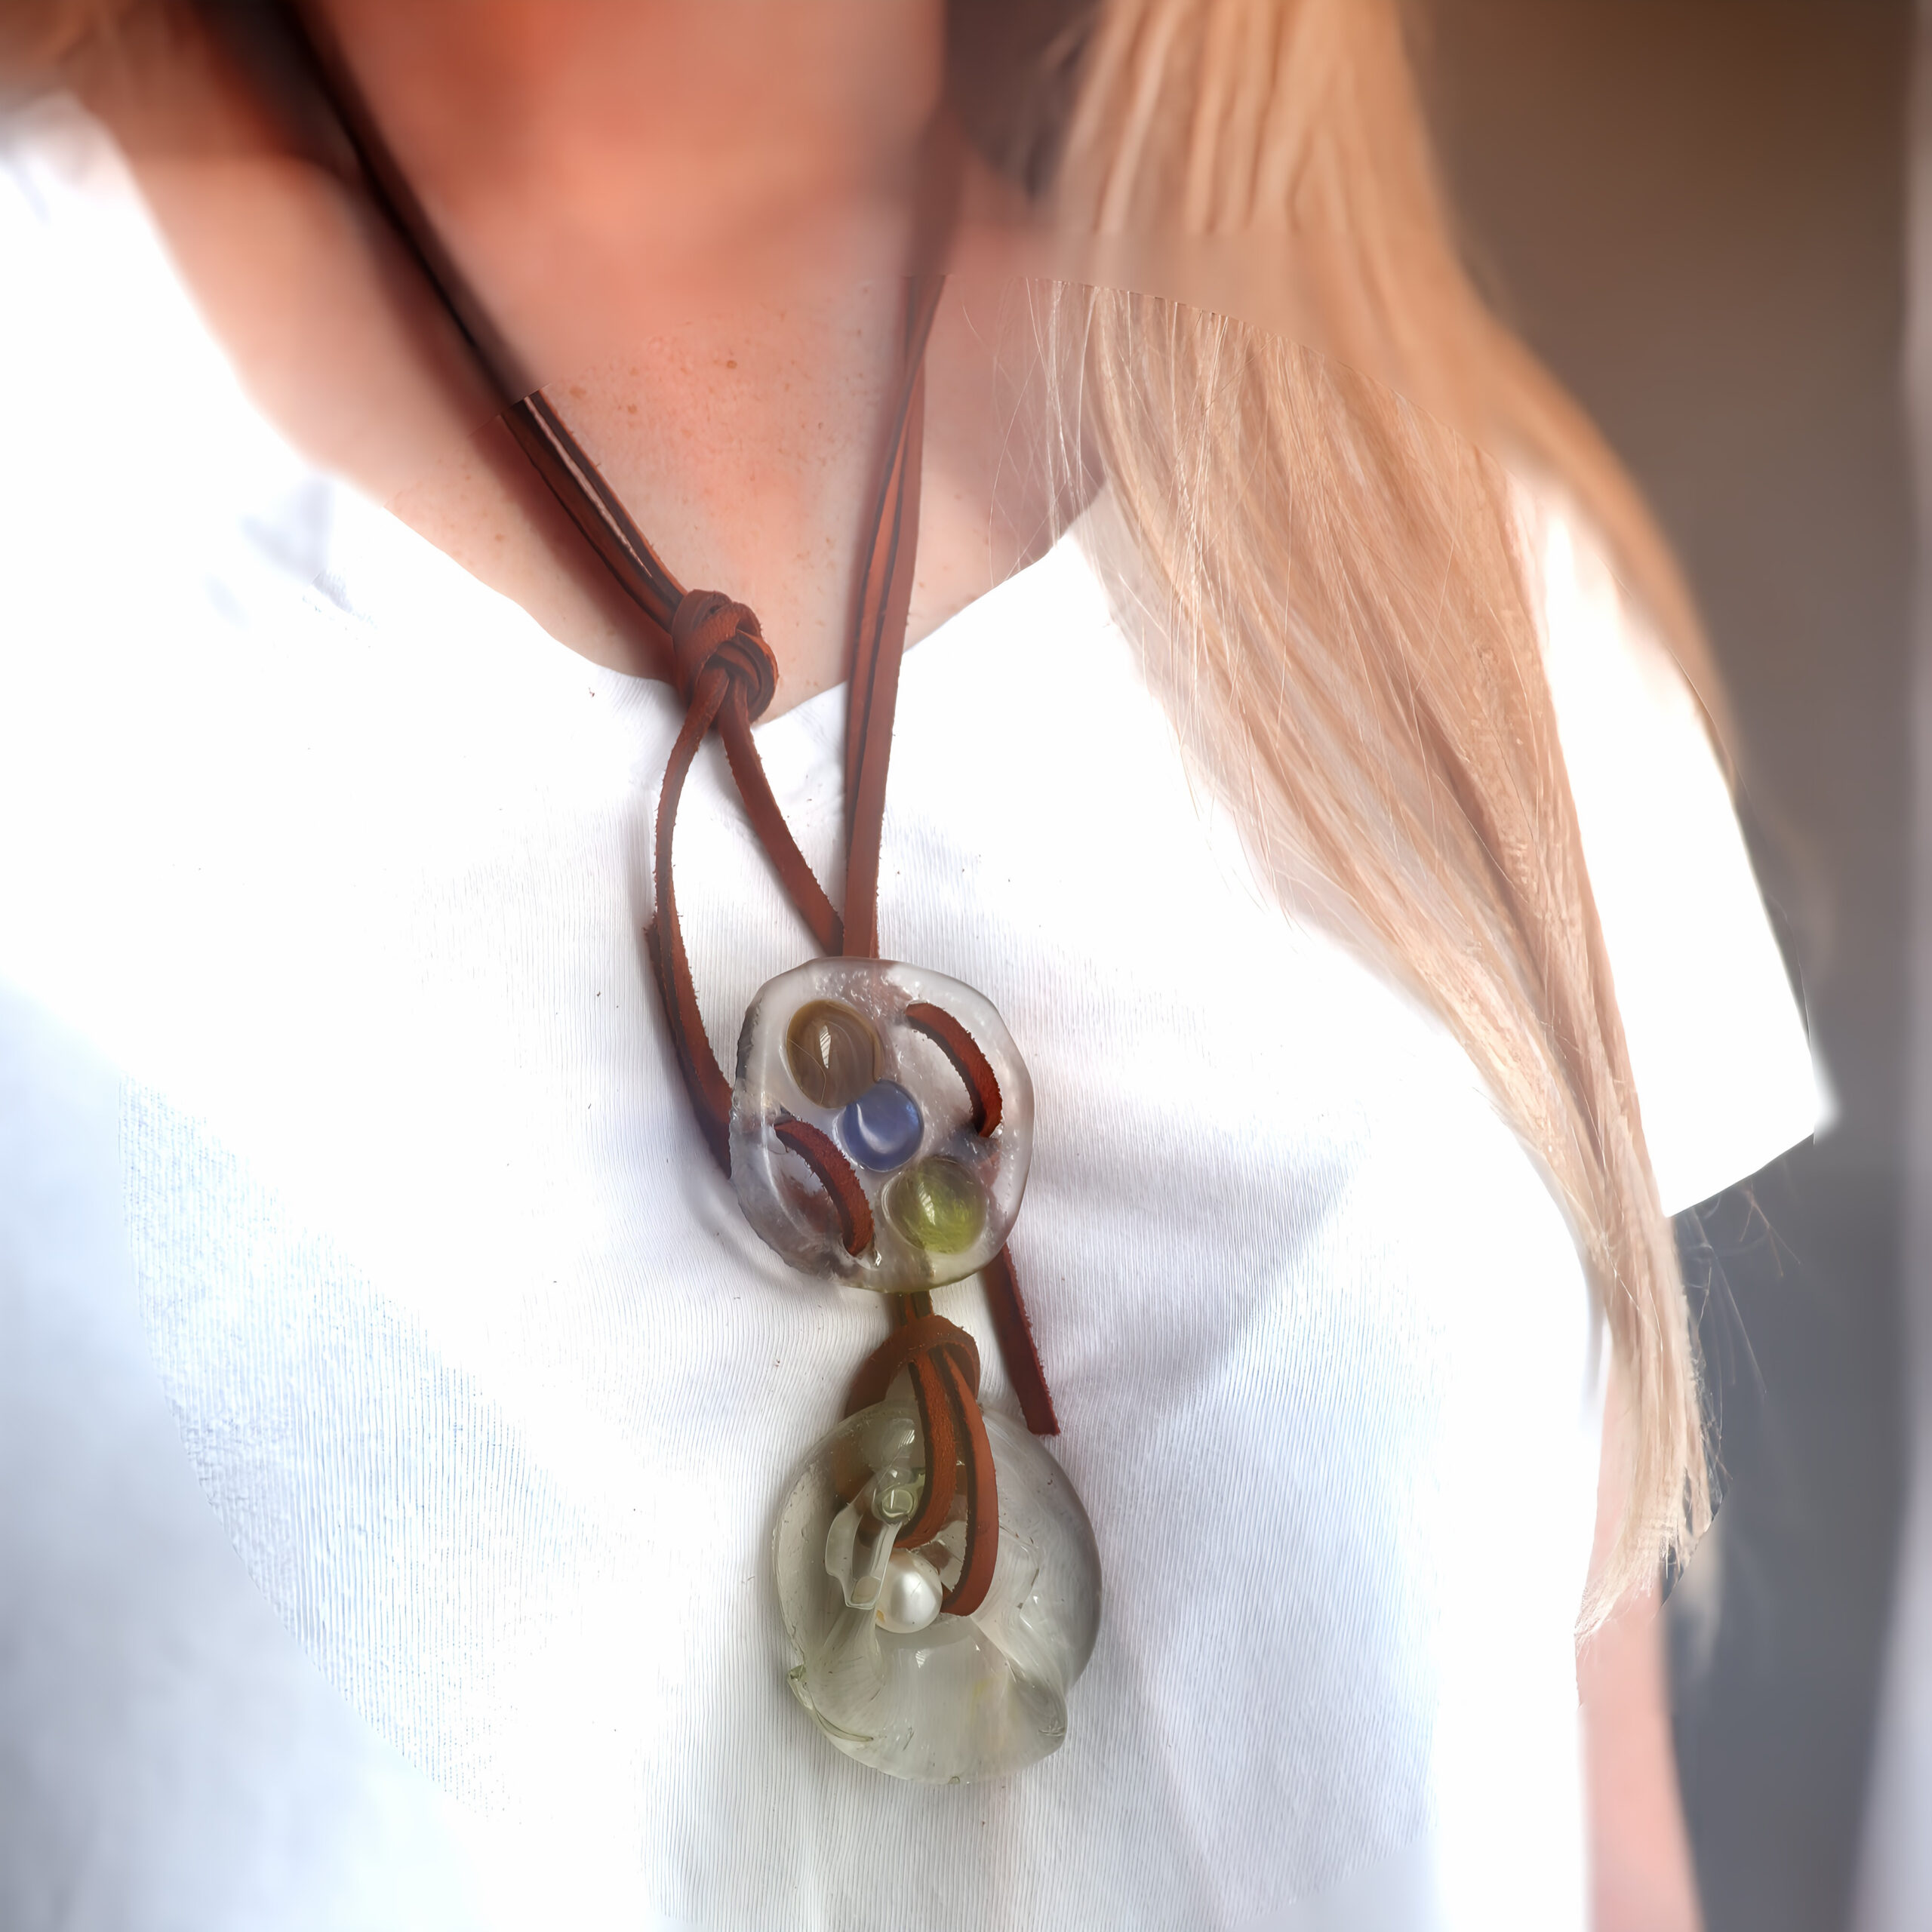
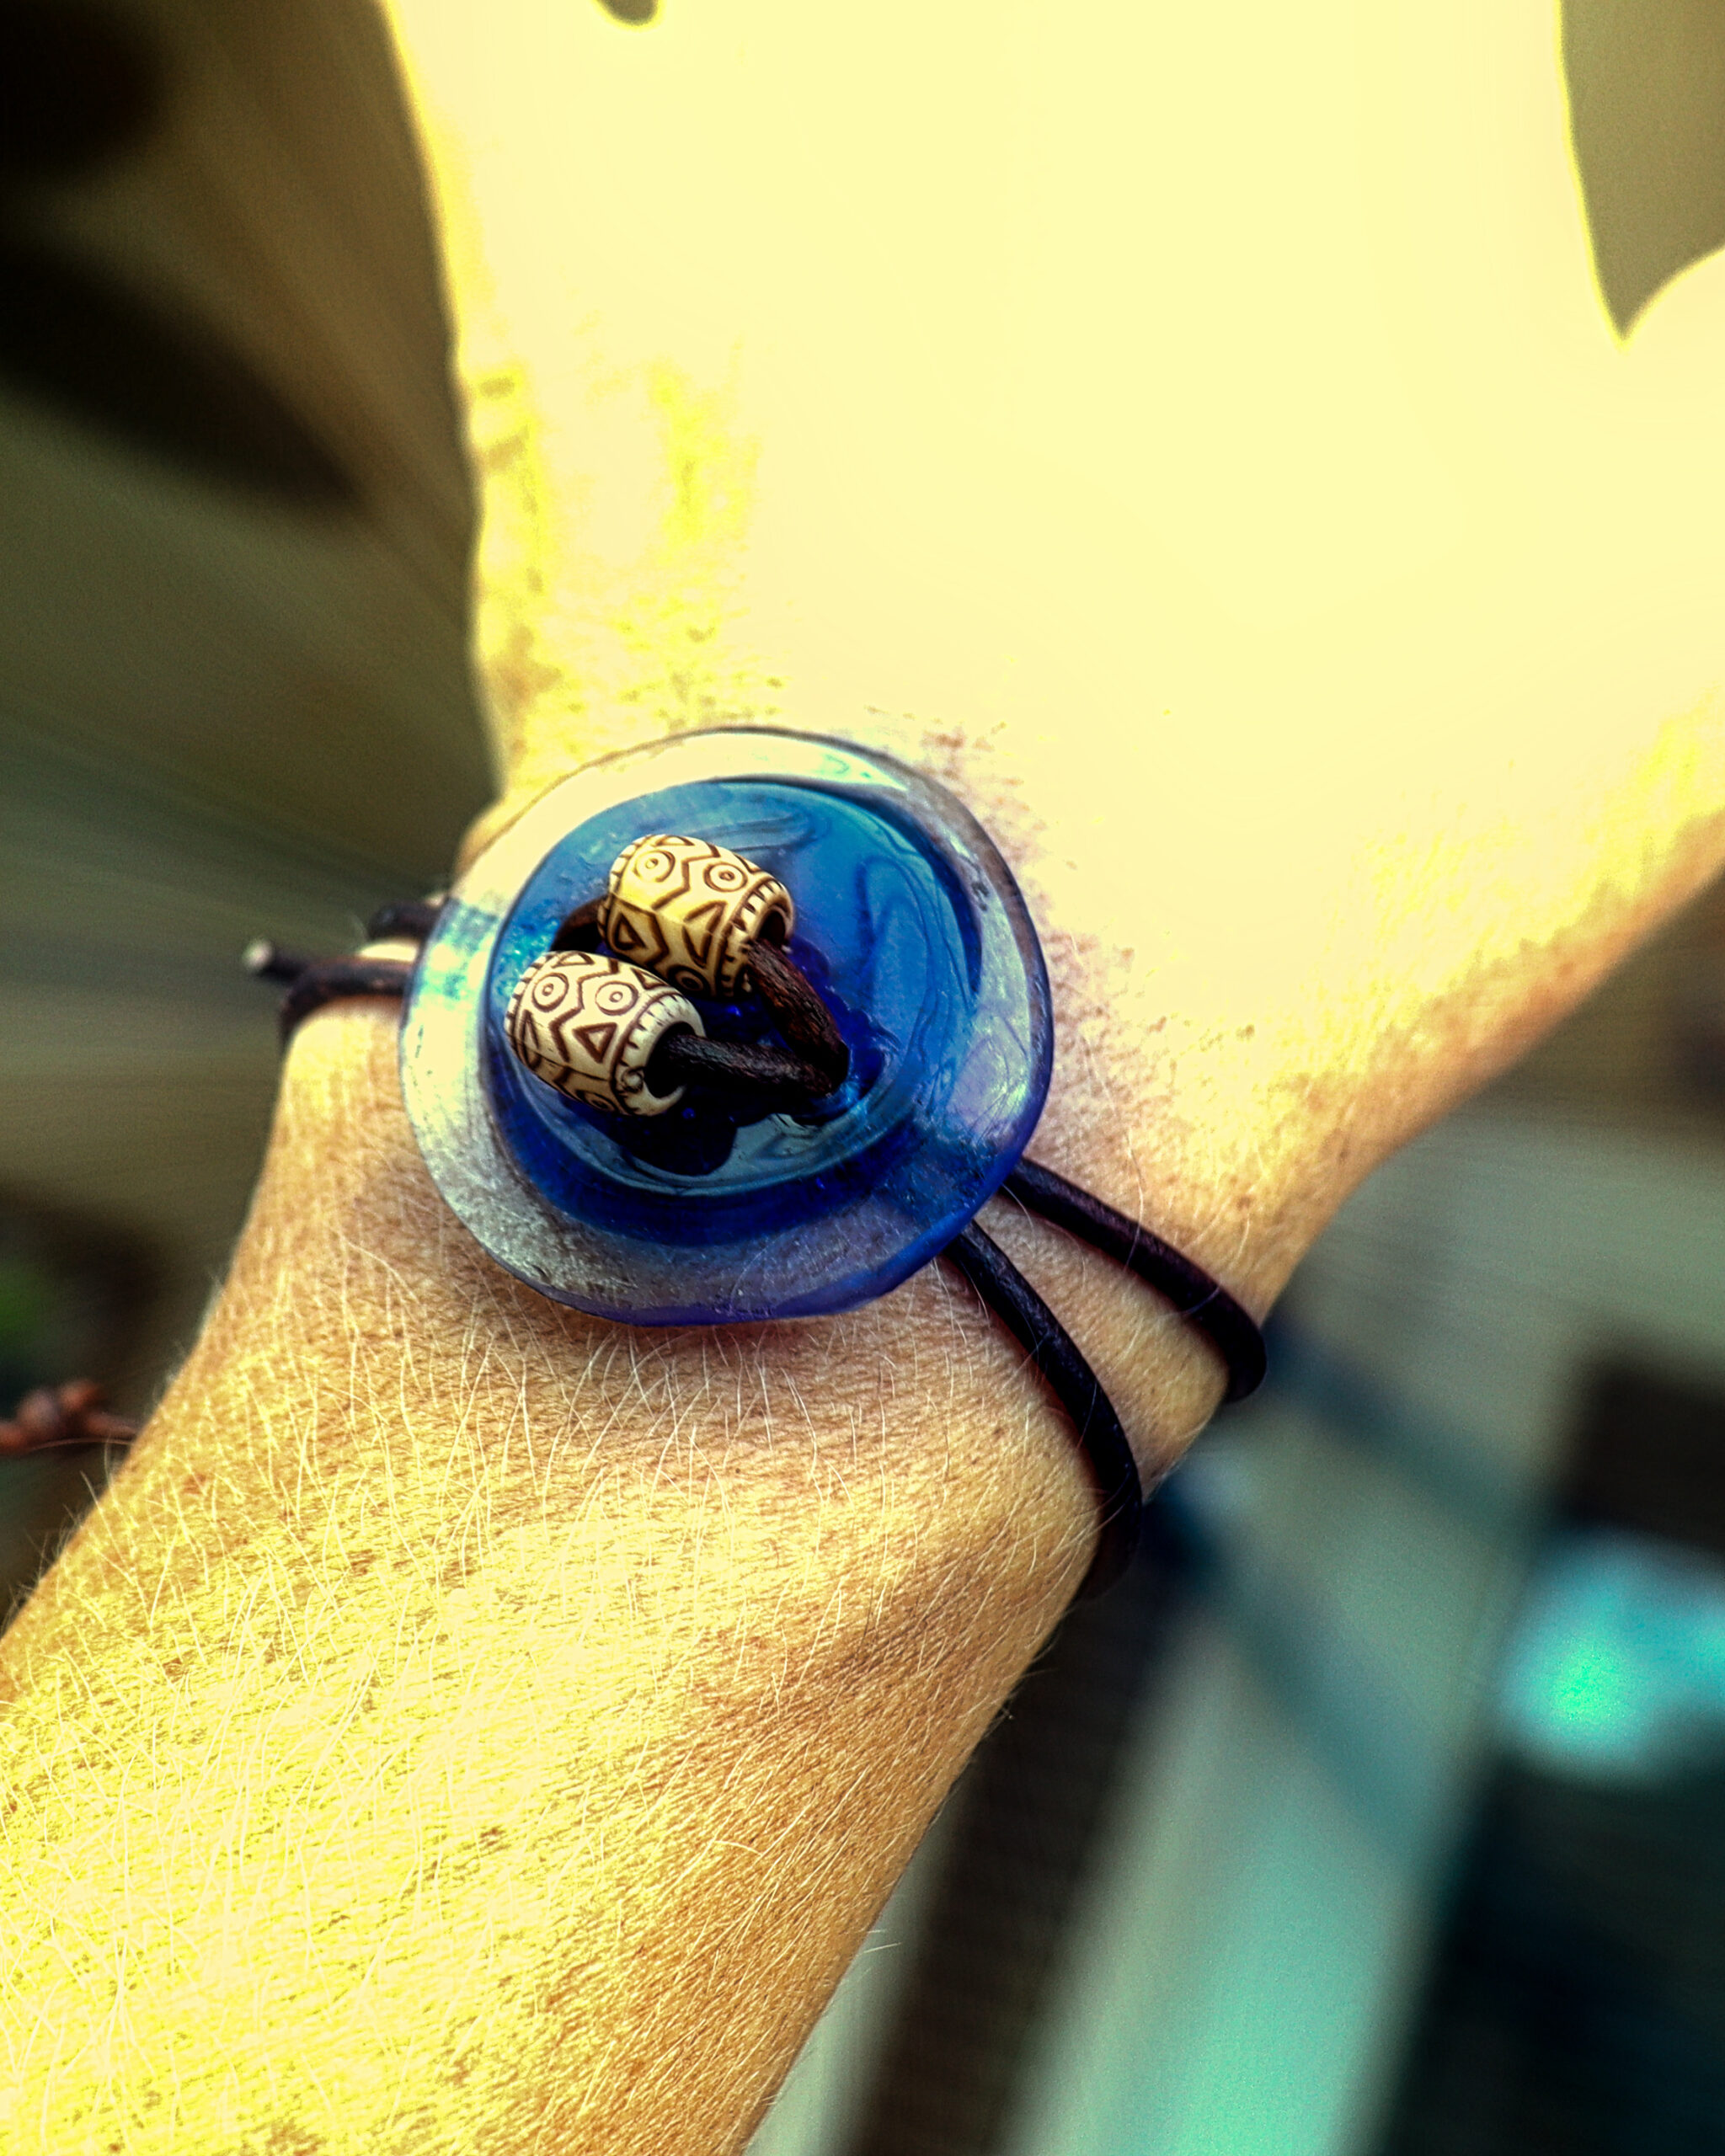
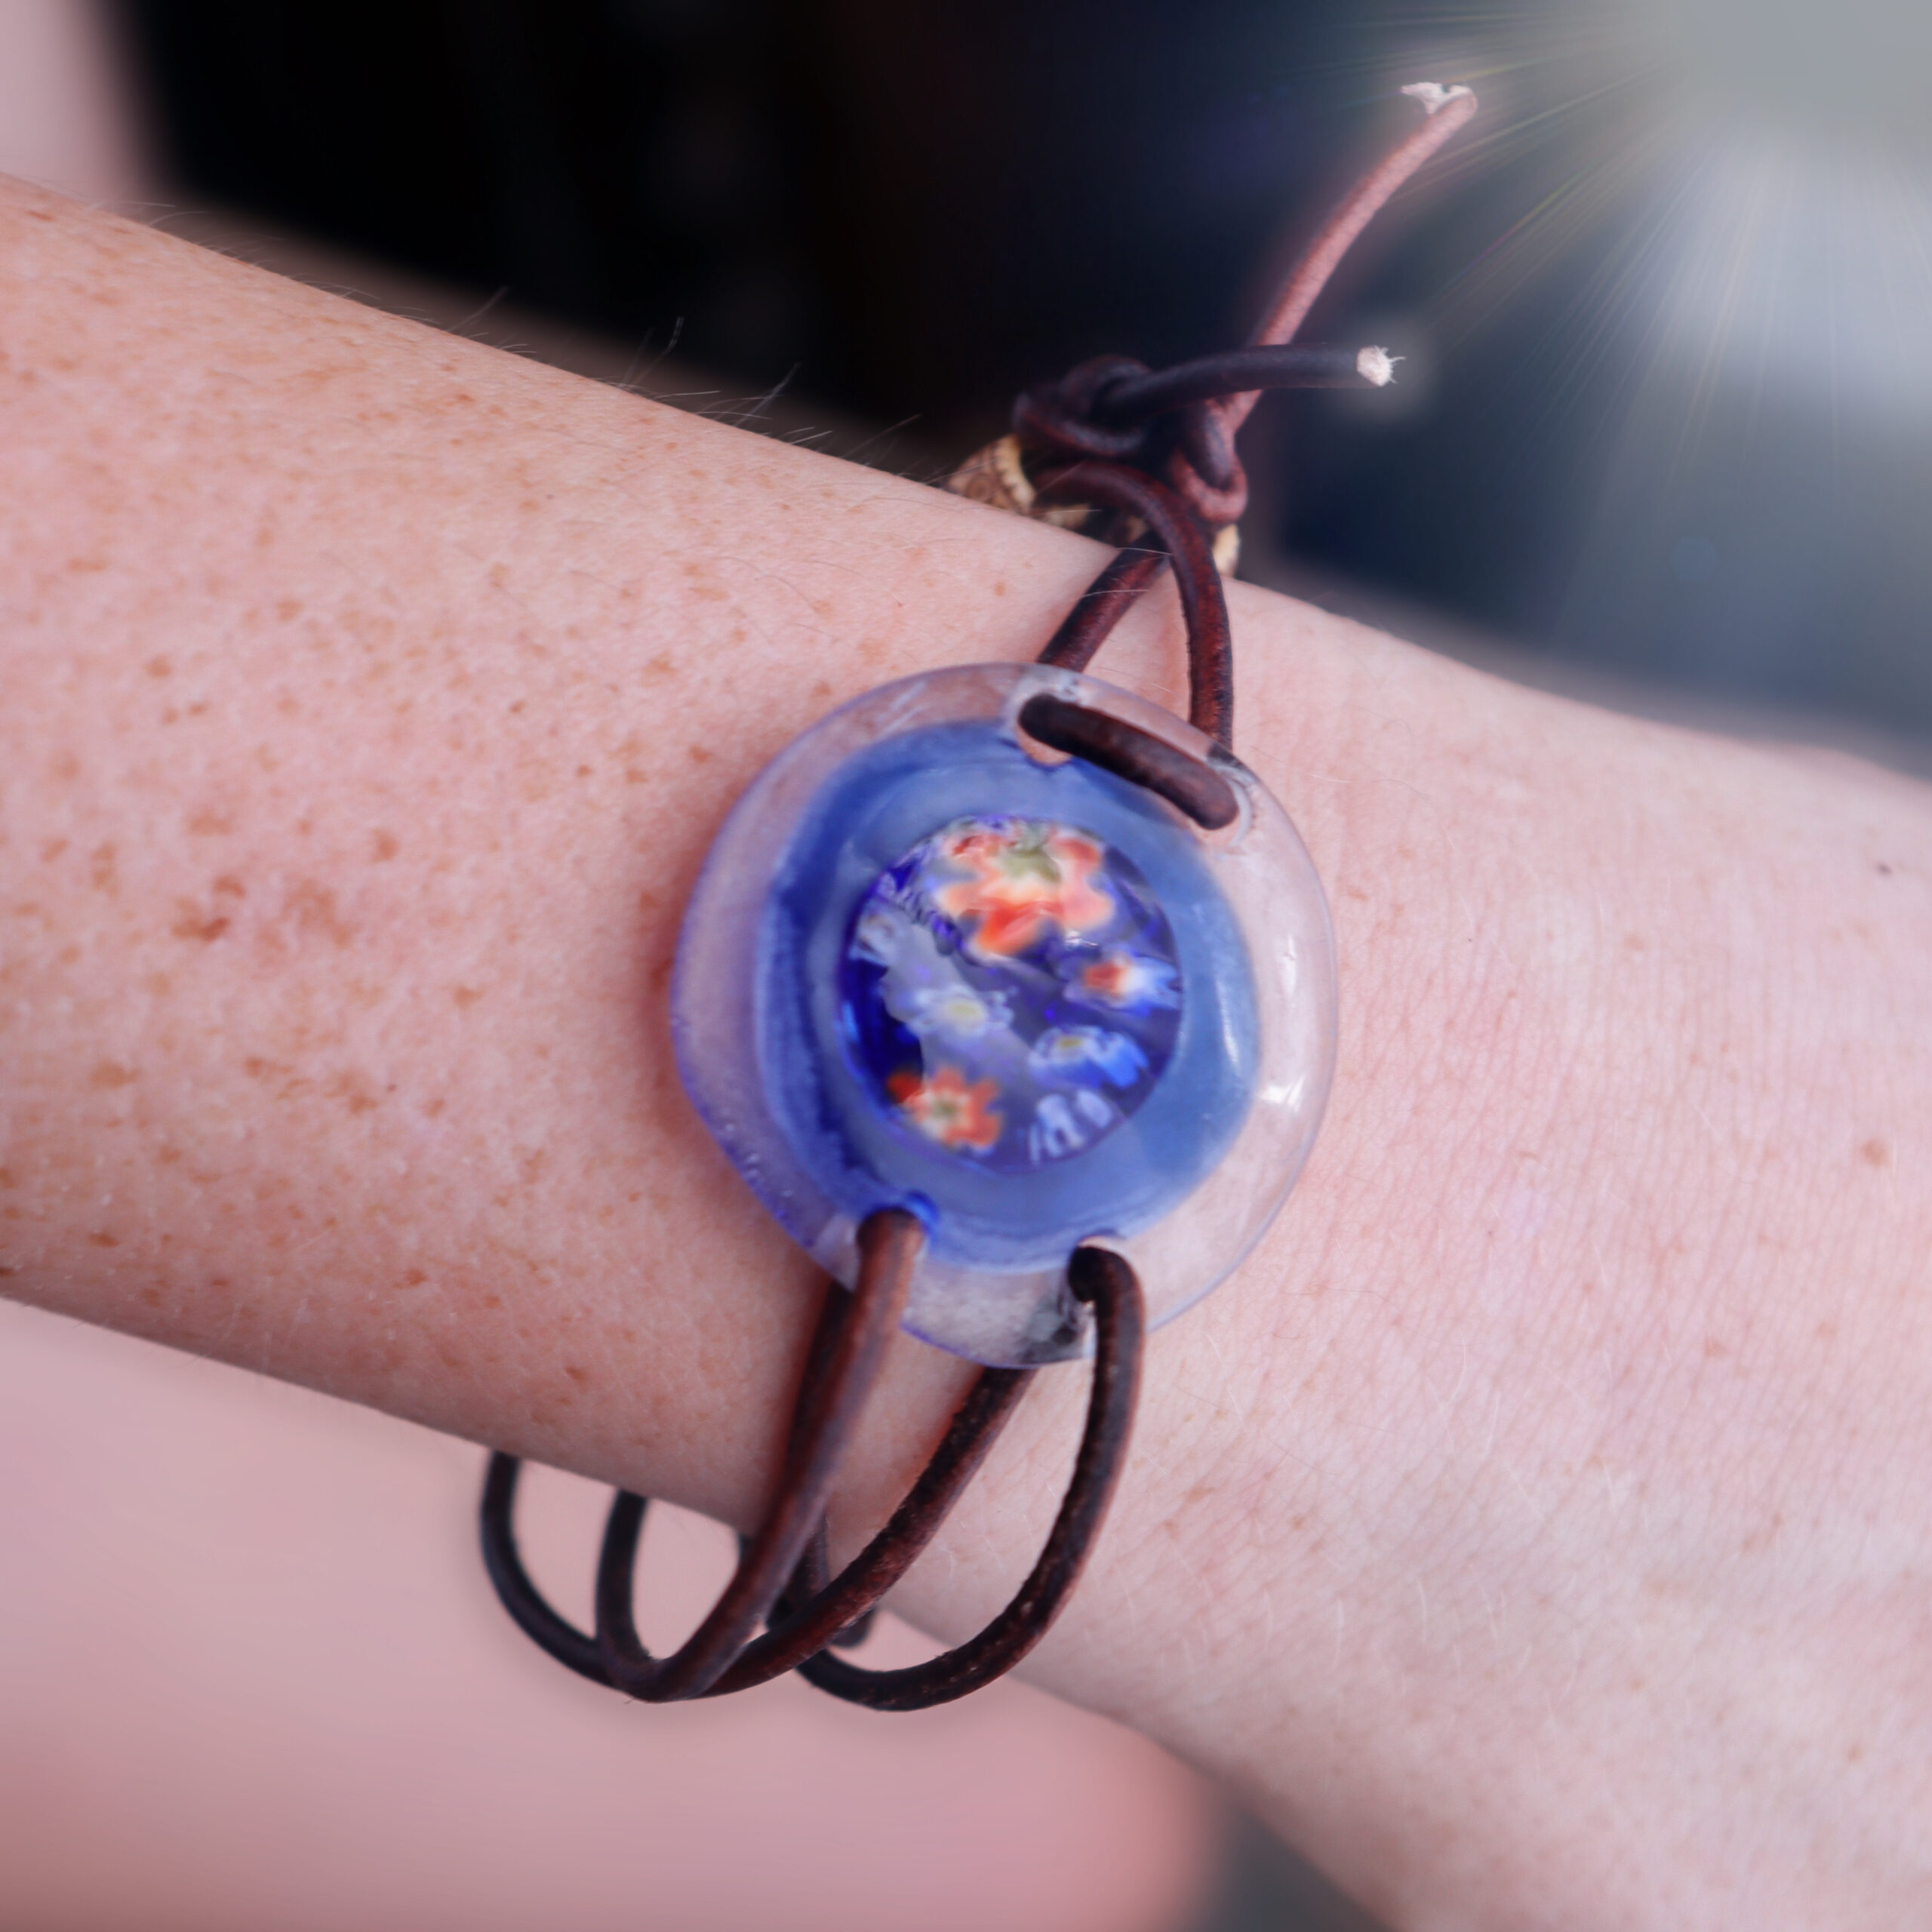
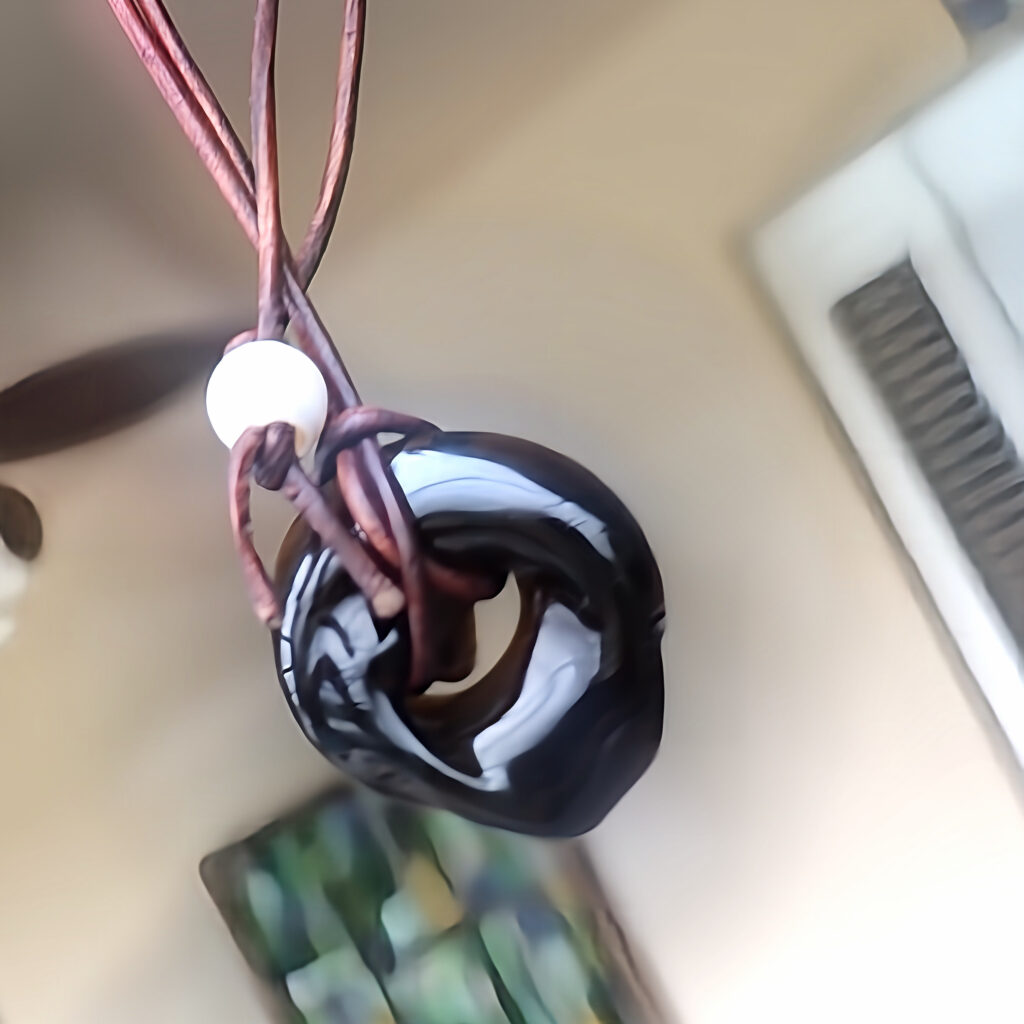
Find Natural Holes
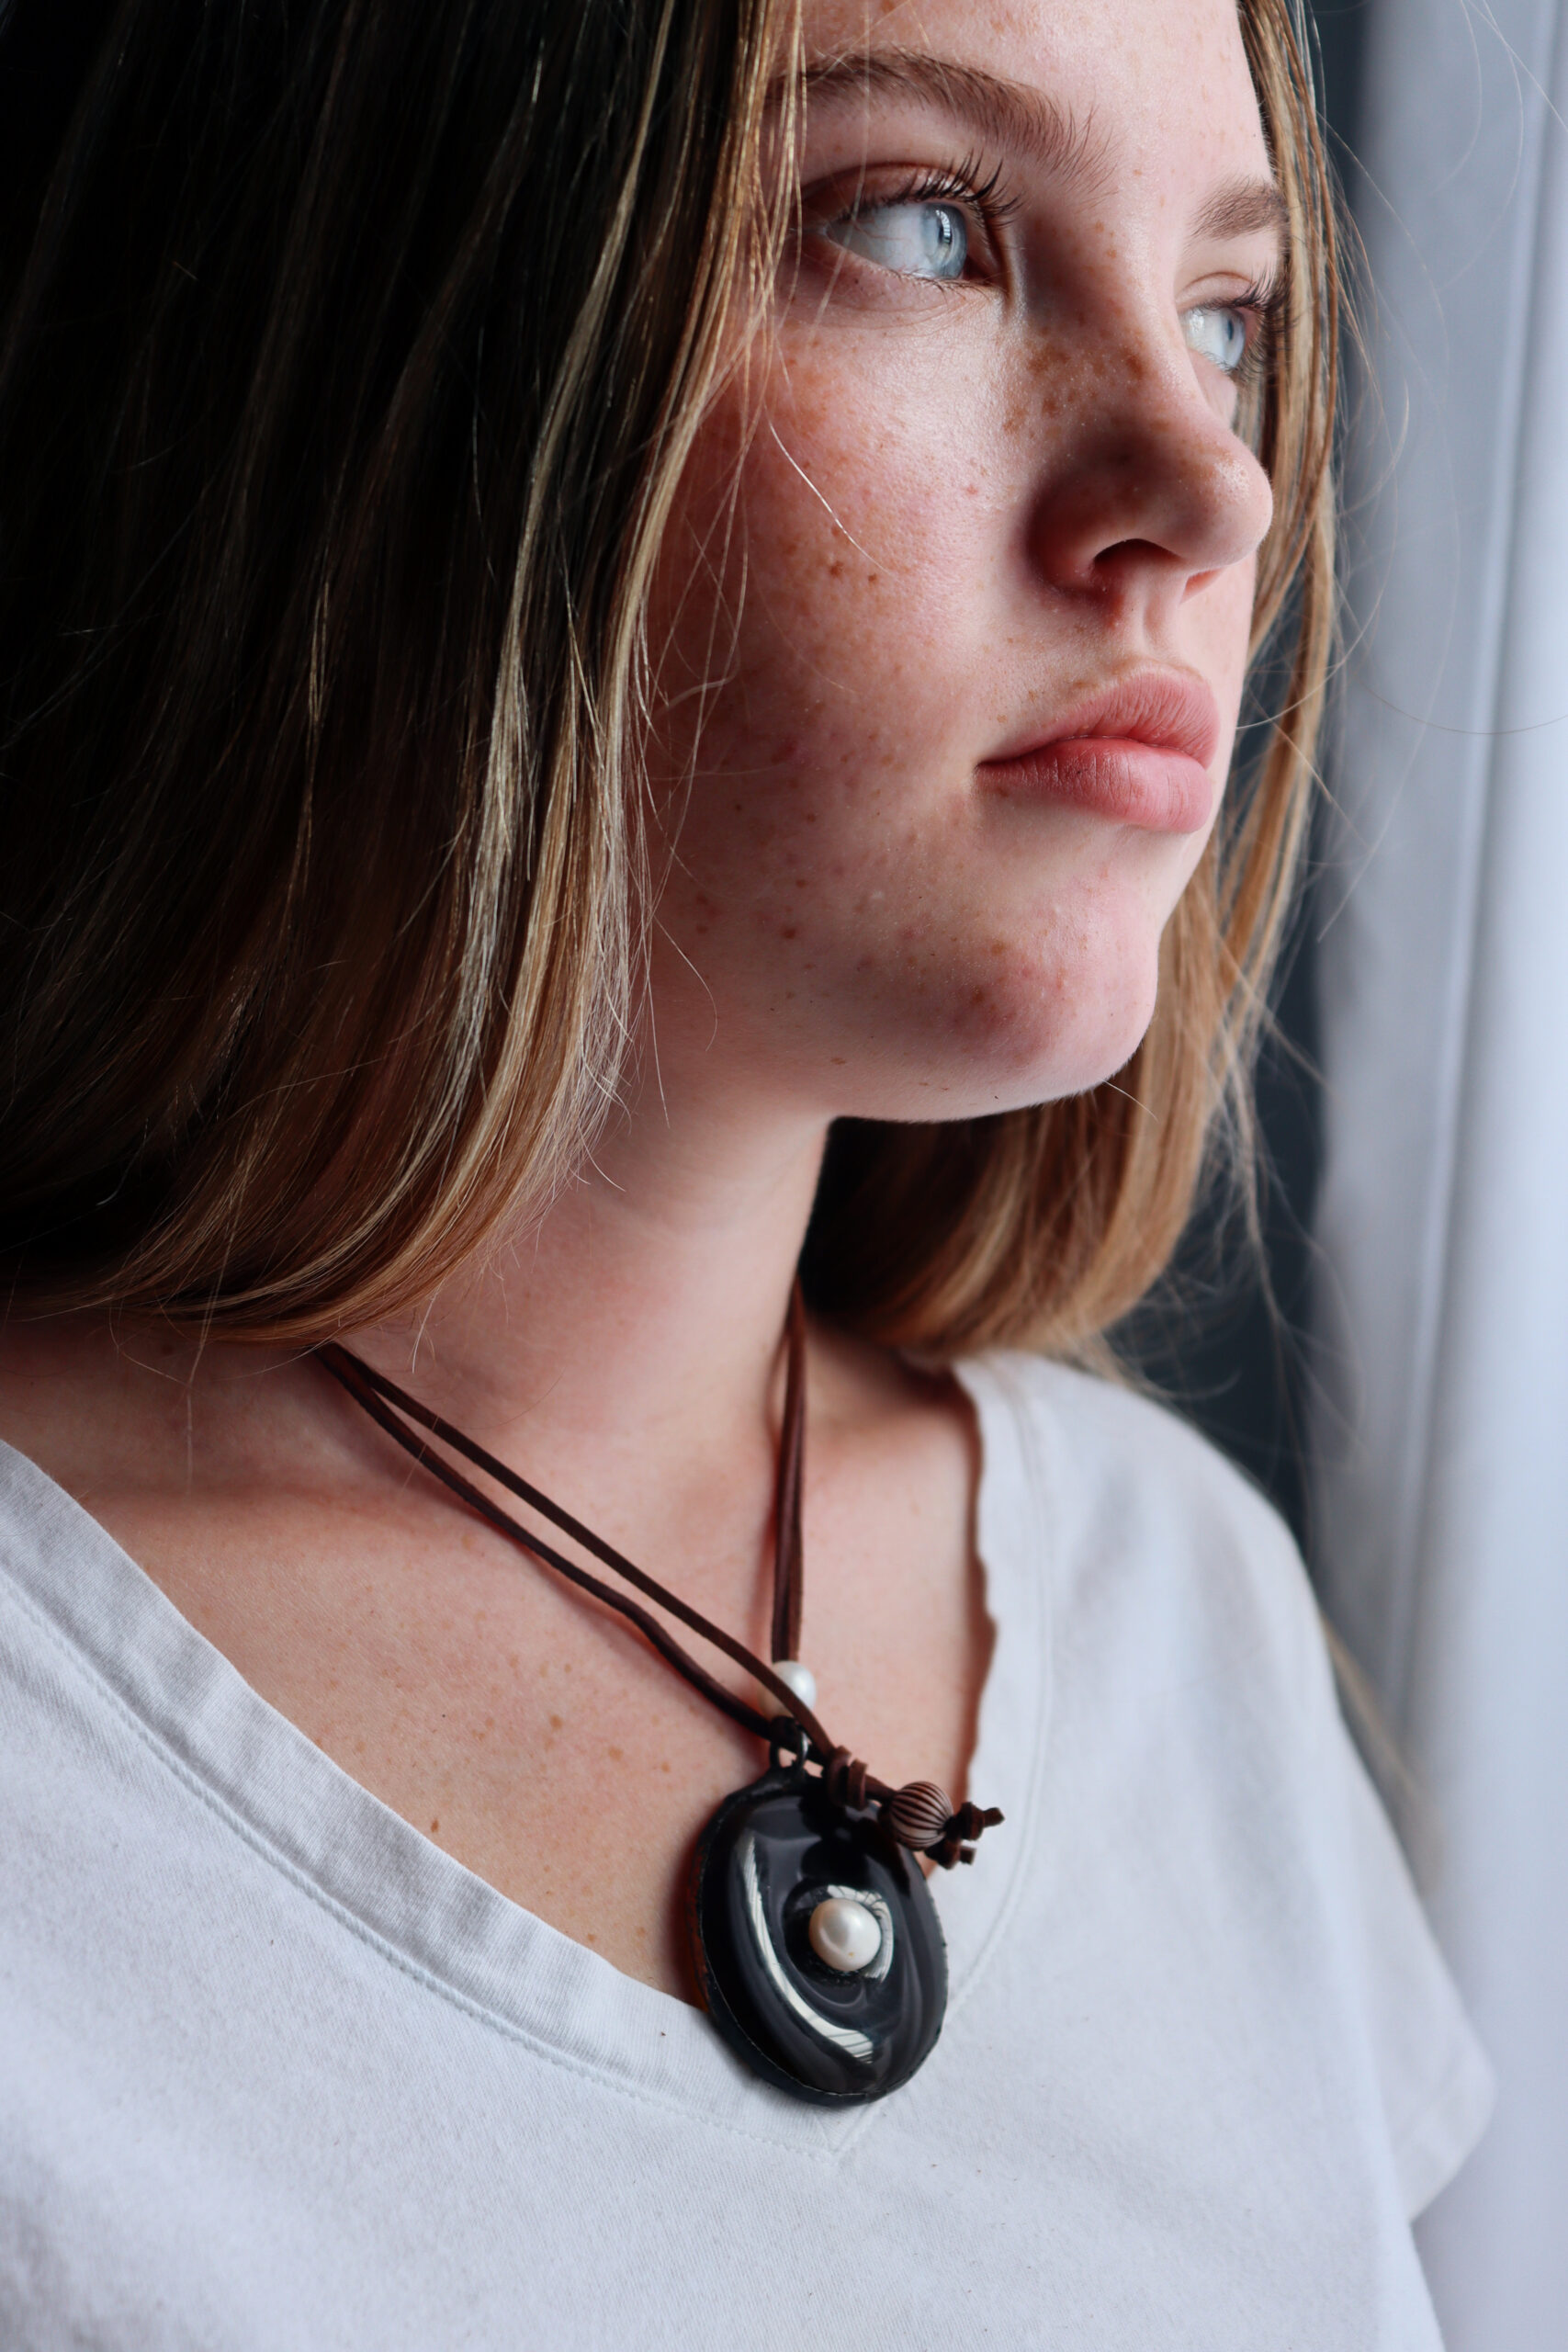
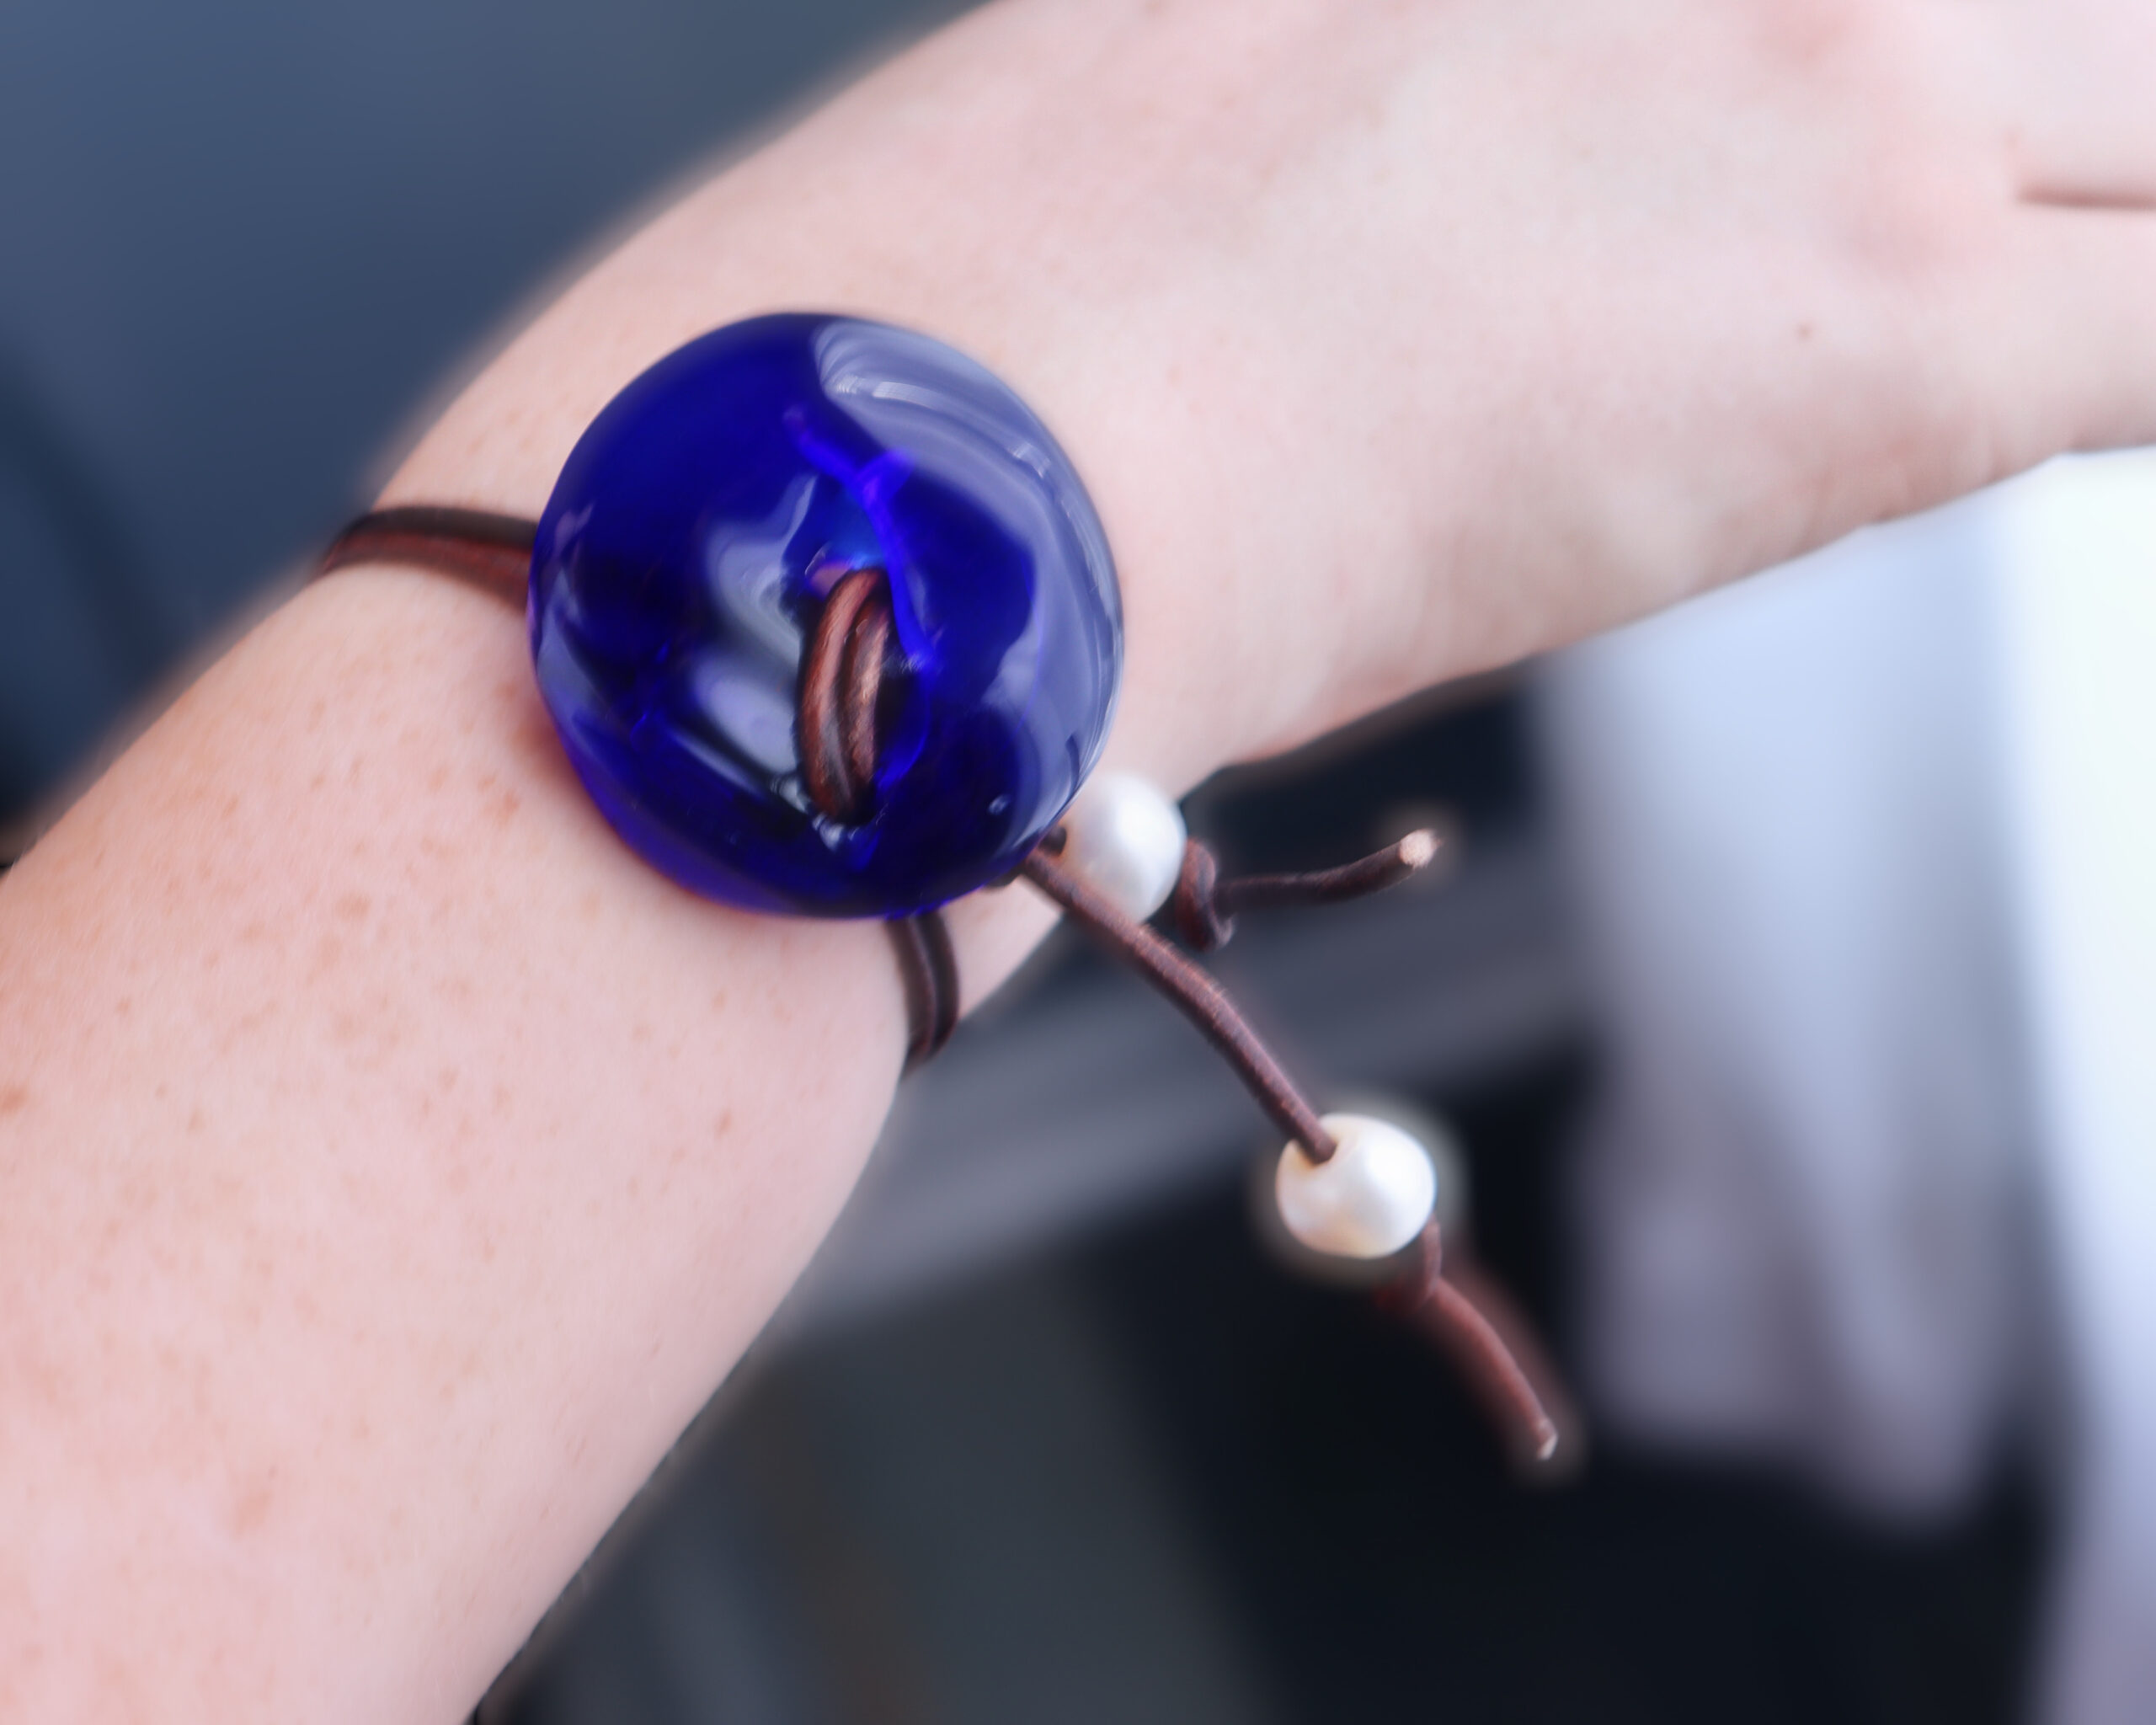
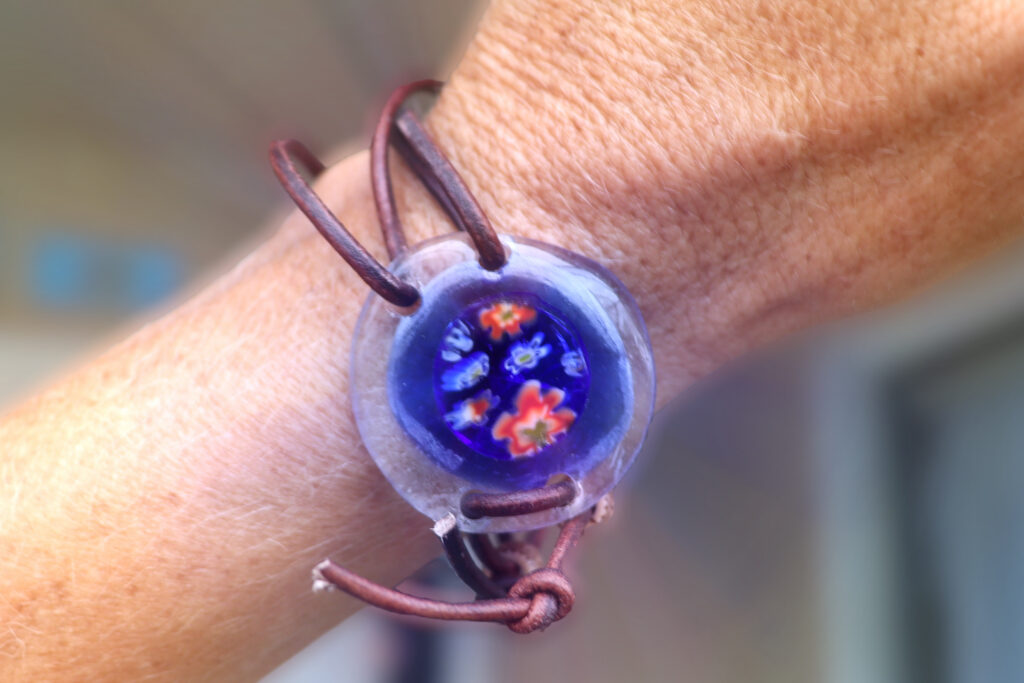
After drilling my circles from my bottles, I saved any scraps to play around with in my microwave kiln. Bottle tops can make some really interesting pieces! The best part about them is that they have a natural opening in them, so no drilling is necessary. In some of my pieces, I glued a stone or pearl in the center. I use glass glue to do this. It has a strong hold that is waterproof as well!
Copper Tape and Solder
This last option requires the most tools. If you choose this route, you may want to refer to my post “Stained Glass Tools for Beginners.” Some basic stained-glass tools will be needed to tape your edges and solder your hooks and loops onto your jewelry. I used copper tape to tape to place my fasteners and then soldered over everything to hold it all in place.
I hope that you enjoy your microwave kiln as much as I have and create some beautiful pieces along the way. Please share your creations below and remember “Sharing is Caring”! If you like what you’ve learned, share this post with others!