“I absolutely love my new obsession of using recycled glass to create mosaic-like pieces! Each piece of glass art that I create is a journey in itself. I am always on the lookout for the perfect colors, the most interesting cuts of glass, and the way each piece melts so beautifully in the kiln. When it is completed, I can look back and remember how that German Riesling tasted or how I enjoyed drinking those Miller Lites by the pool on a Sunday afternoon. Follow me to learn how to create beautiful stained-glass birds of your own for a very minimal cost!”
For a detailed desciption of what you need to create stained-glass from home, visit my post“Stained Glass Tools for Beginners.”
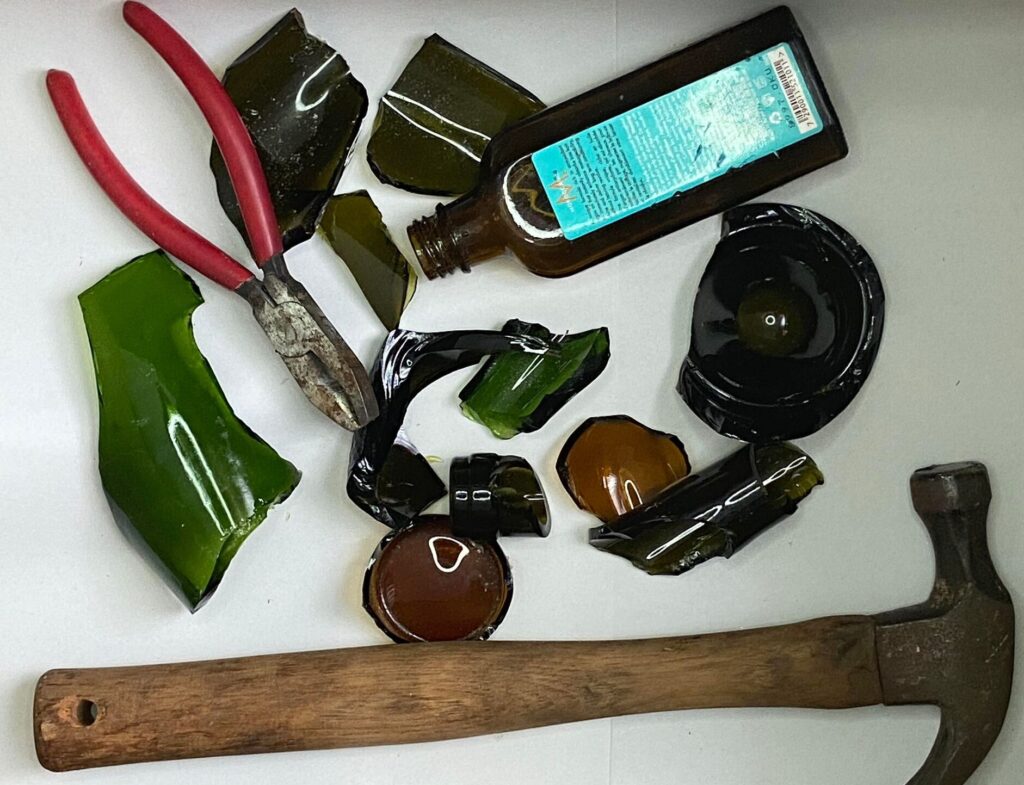
This step may sound fancy, but it’s quite simple. Break your bottles! You’re creating a stained-glass bird mosaic, so you want a variety of glass sizes and colors. Some of the most interesting pieces, in my opinion, are the tops and bottoms of glass bottles. If you can melt these pieces enough to flatten them but still see the original form, they will give your stained-glass piece some great character. You will want to wear an apron, protective eyewear, and cutting gloves to protect yourself from the shard of glass. I use a mallet and a hammer to break my bottles.
This step is fun because you never know what you’re going to get! Each bottle is different, some softer and some softer so your melting points are going to differ. Each microwave is also different, some are more powerful than others. You will definitely want a dedicated microwave for melting your glass. I was able to pick up a microwave at our local Goodwill for $30. I keep it in the garage and this is where I fire my glass.
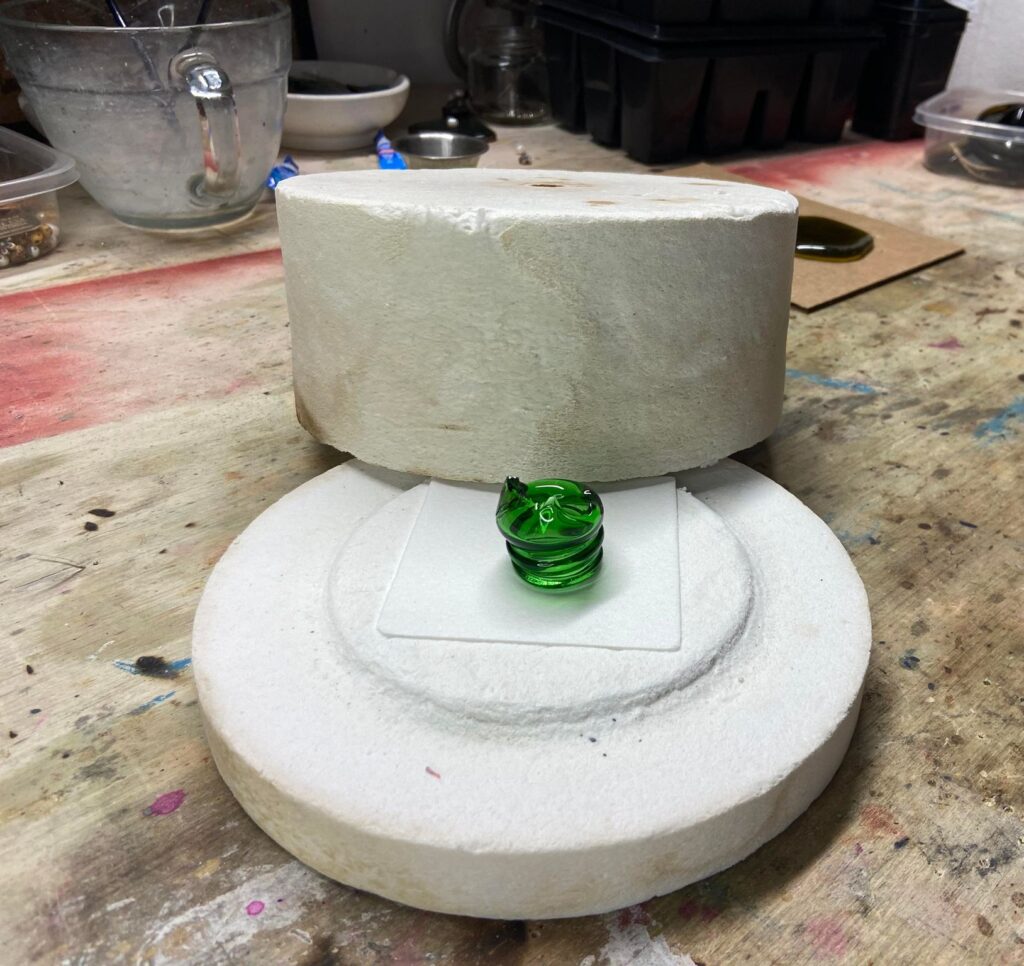
You’ll find that most microwave kilns look the same, and they really are! Most are made in the same factory but sold by different companies. So, when it comes to buying your microwave kiln, look at pricing and accessories. You also want to look at the size. They come in small, medium, large, and extra-large. I purchased the extra-large because I wanted to fire the largest pieces possible. The larger the kiln, the longer it takes to heat up. I also chose one that came with accessories because it gave me materials to experiment with and learn how to use my new kiln. Here’s the one that I purchased.
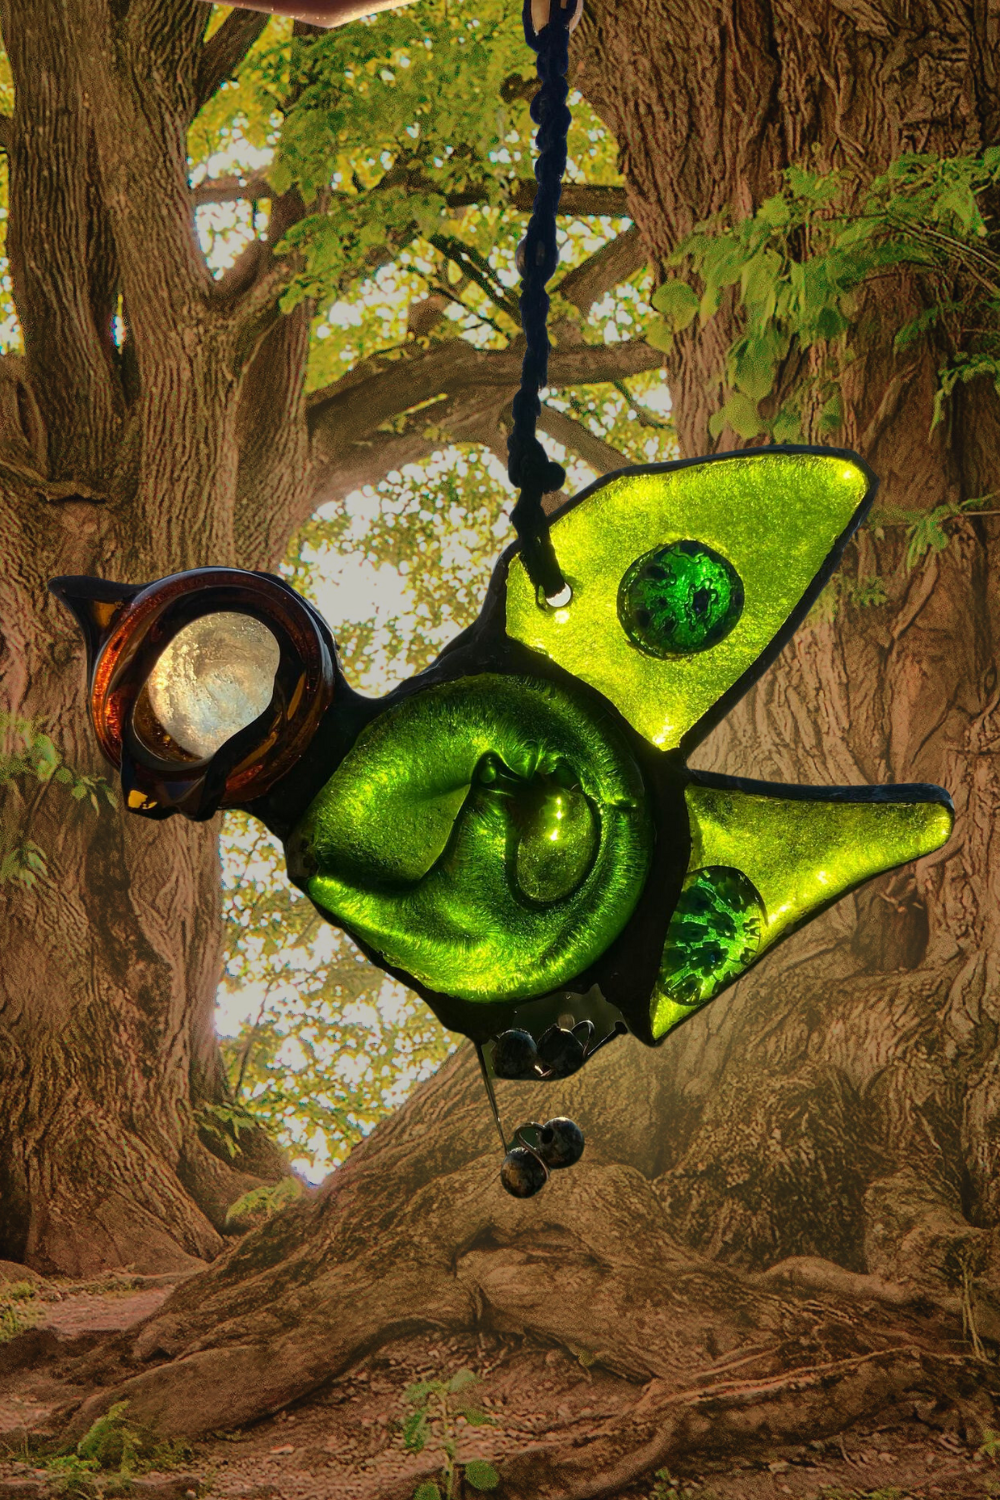
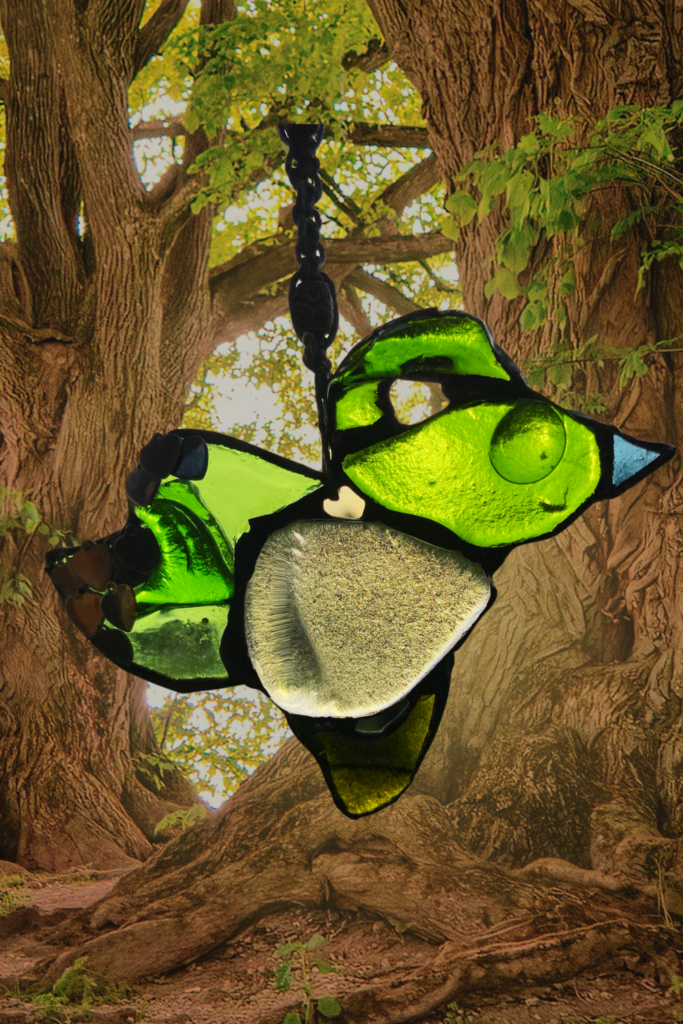
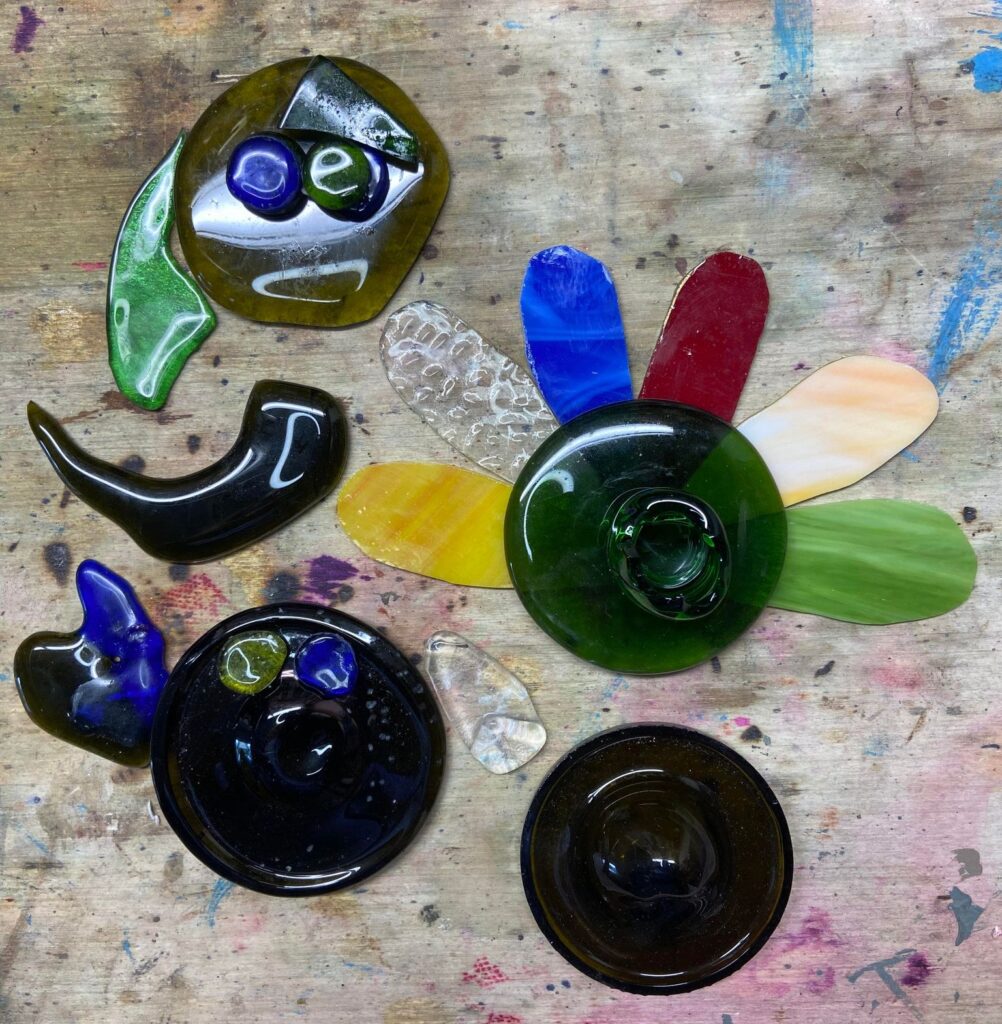
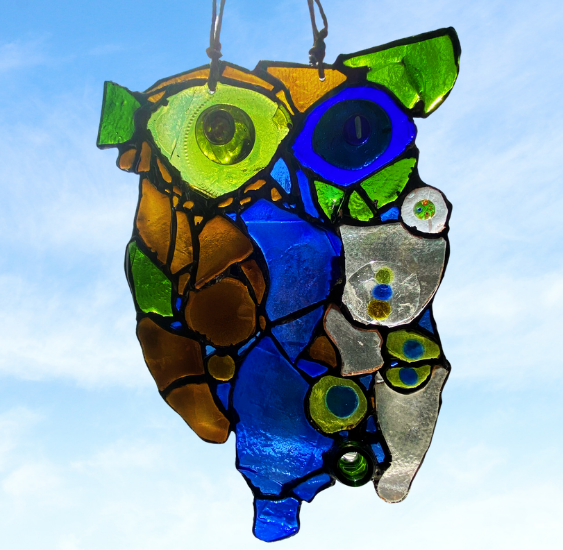
Next, you’ll want to use your fused glass that has been fired in your microwave kiln to create a mosaic-like stained-glass bird piece. I find it easier to fire first and then create from the pieces you have made. The more you use your microwave kiln, the better you will become at predicting how each piece will be fired. If you have a grinder, you can always grind or cut your pieces to better fit what you are creating.
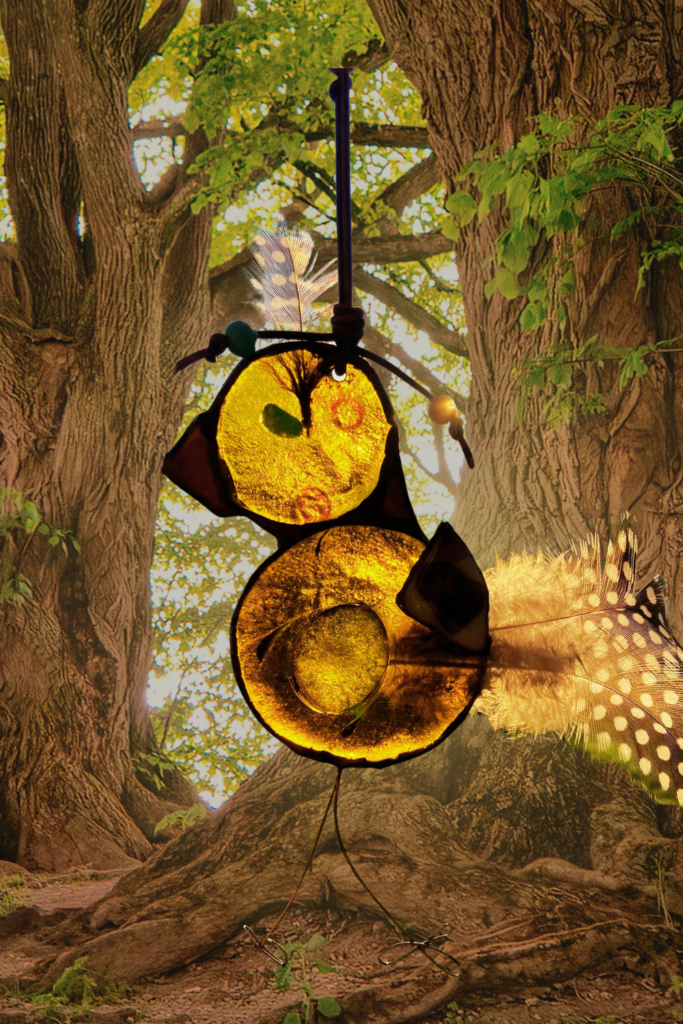
This step is fun! You can create anything you want! You can even add in some other pieces. I’ve been making turkeys for Thanksgiving. I used upcycled fused glass for the body and head and some tidier cuts for my feathers.
Before soldering your glass pieces together, you need to apply copper foiling to the edges. This will allow the solder to stick to the glass. Copper foiling comes in a roll, similar to tape, with one sticky side and one metallic side. I use gloves when applying the tape. It would be easier to skip this step, but the stickiness of the copper foiling draws all the moisture out of my fingers, and I cannot stand it. The tidier your tape, the smoother and neater the solder lines will be. You can use an X-Acto knife to cut away any unwanted tape lines.
The final step is soldering it all together. Prior to adding your solder, you will need to apply a light coat of flux. Flux (meaning “flow”) will allow your solder to flow nicely onto your copper foil. Without it, you will find that your solder will simply bubble up and not stick. I use a paintbrush to apply my flux. I do small pieces at a time so that my flux is slightly damp when I apply my solder.
When applying your solder, you will want to apply small bits at a time. If you apply too much, it can become messy. If you lightly touch your soldering iron to your solder, you should be able to grab just enough solder so that it doesn’t drip off the edge of your iron. This is the perfect amount to start with! You want to build your solder line gently. This will give you the tidiest finished outcome.
Patina is what will give your solder an aged look. Solder comes in two different colors, black and copper. In this particular piece, I used a combination of both. Play around with your solder to see what colors best suit your piece. You can simply paint solder on using a paintbrush. I find that the color takes best just after you have applied your solder. You will want to let it sit for a few minutes and then wash it off. The color will take immediately.
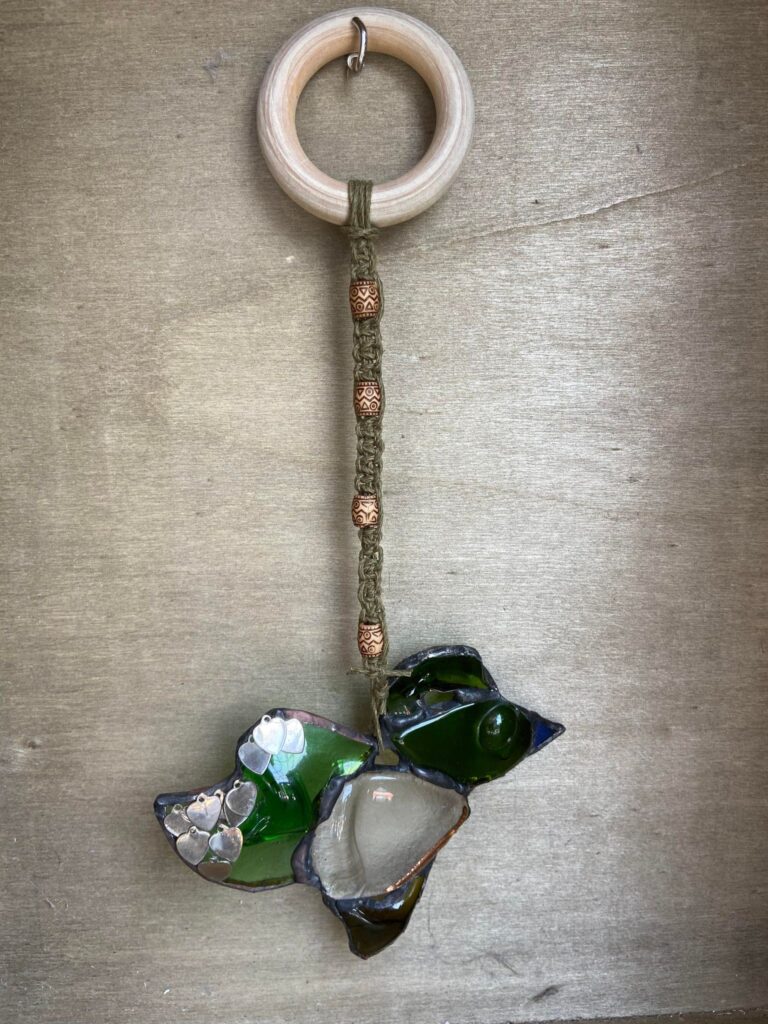
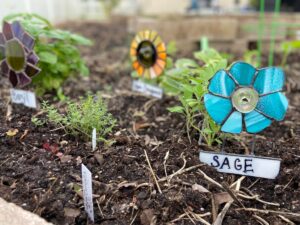
How will you display your mosaic stained-glass birds once done? Some pieces may have natural holes for hanging and others may need holes drilled into them. Drilling holes in glass sounds scary, but it is quite simple! I use a diamond drill bit set to help me drill my holes. The trick is to apply light pressure and go slow. You may want to practice before trying on your finished piece. Most sets will come with a variety of bit sizes. Start small and widen your hole gradually. Once you have a nice hole drilled, you can use macrame cord, twine, or hemp cord to hang where you want
Please share some of your creations below! Also, check out some of my creations at my Etsy Store! As a thank you for reading my tutorial enter GOBBLEGOBBLE during checkout to receive 10% off your purchase.